Two-Factor Authentication

Objective

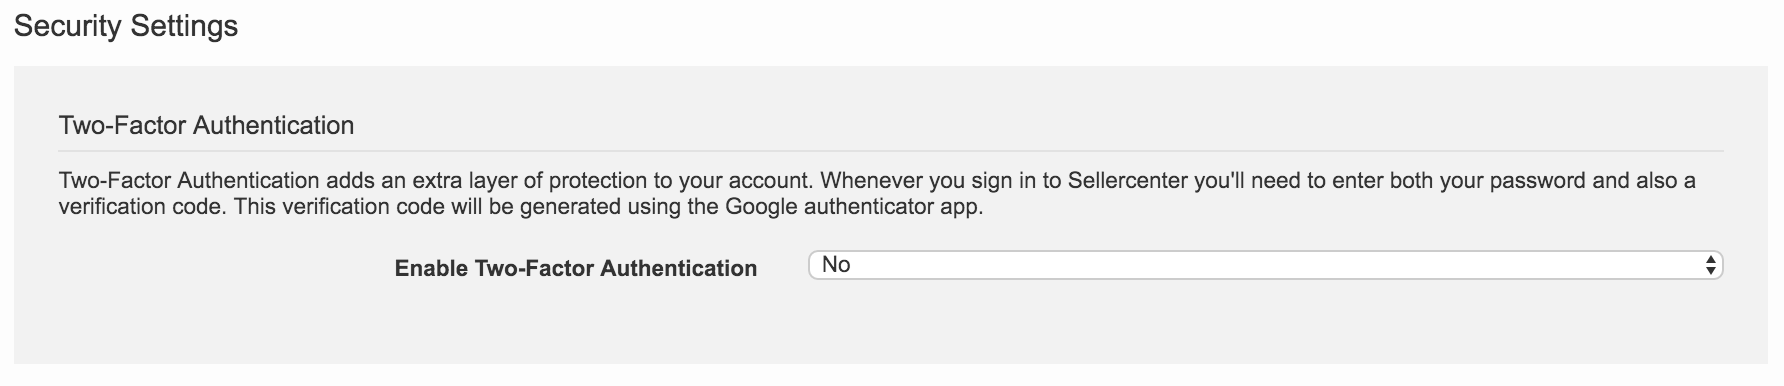
Complying with latest security standards, Two-Factor Authentication provides additional protection for Sellers and admins to protect their Seller Center accounts. This guide will explain how Two-Factor Authentication can be set up for an individual account and how this modifies the login.


Critical Knowledge

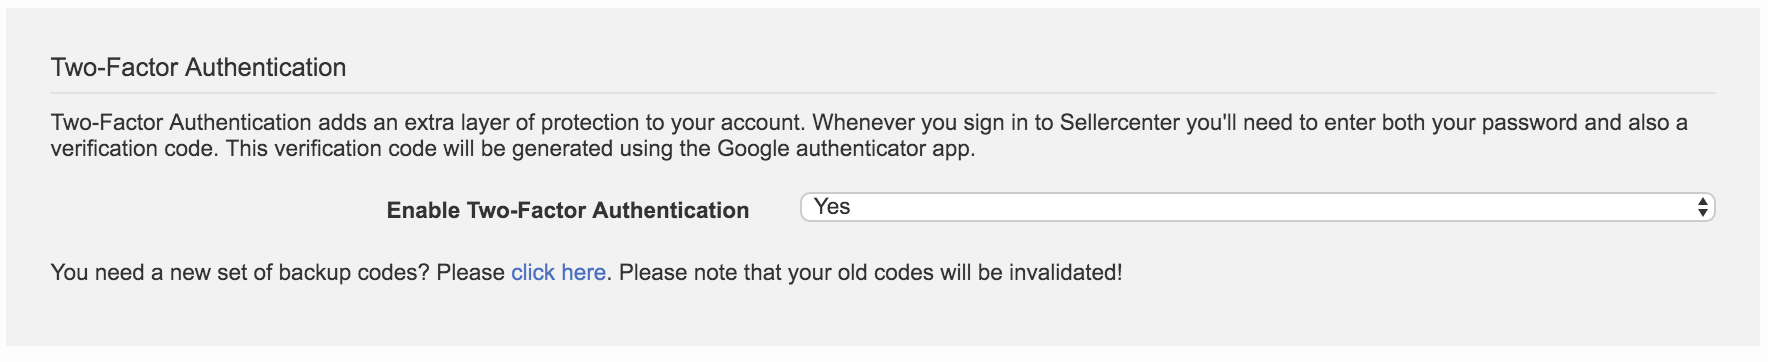
  • Users are not forced to enable Two-Factor Authentication but can enable it voluntarily in their security settings.
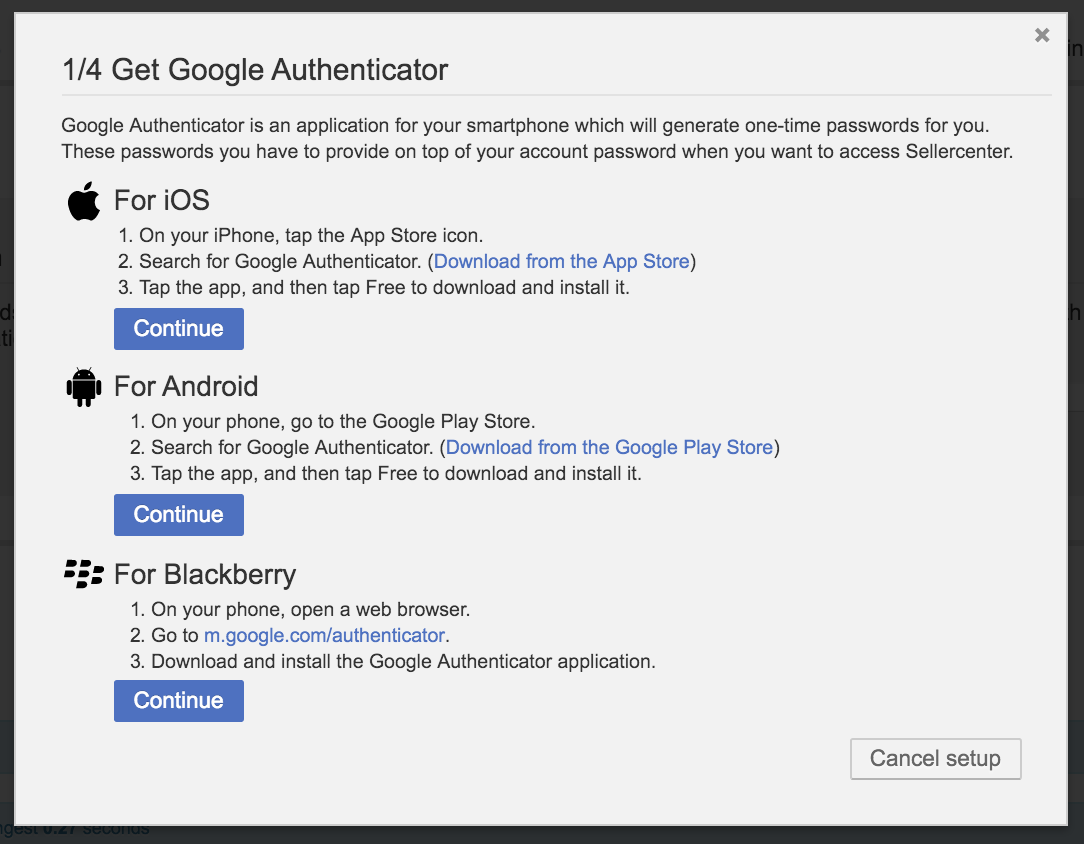
  • In order to use this feature, users need to have access to an Android, iOS or Blackberry device that is able to run the Google Authenticator application.
  • If you want to enable Two-Factor Authentication, please raise a TMLSD ticket. The parameter that needs to be enabled is authentication:two-factor/enabled
  • If the feature switch is disabled after it was previously enabled, all users will have to set up Two-Factor Authentication again


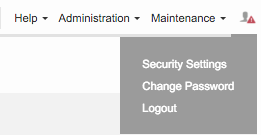
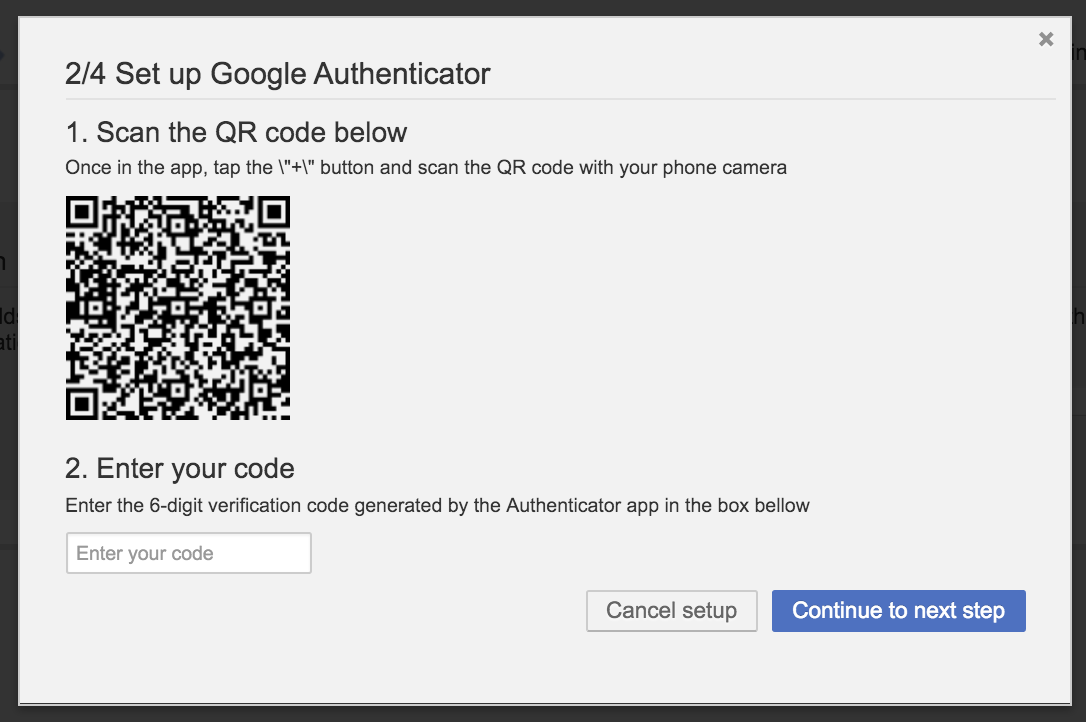
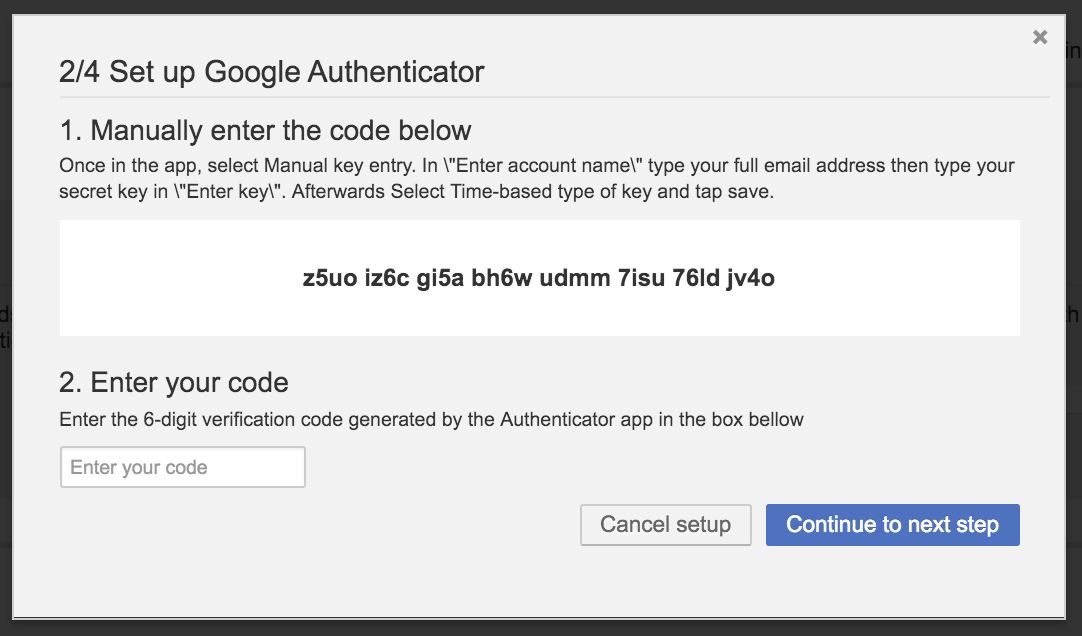
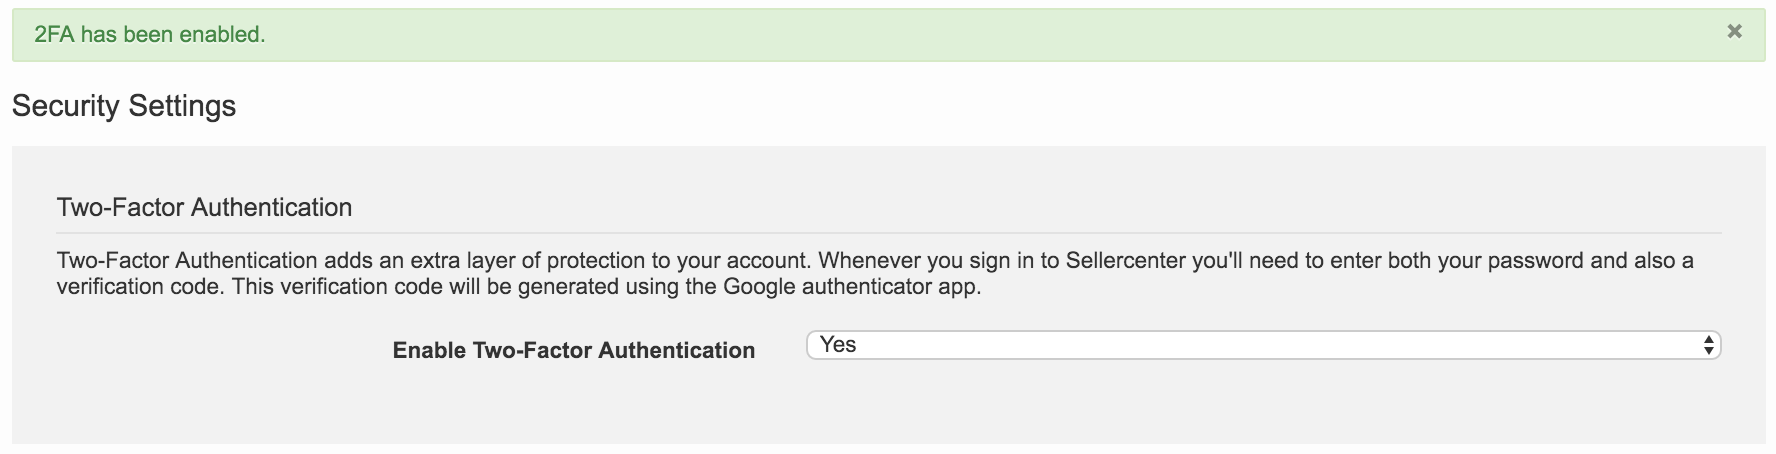
Setting Up Two-Factor Authentication

  • When the feature is activated, users can set up Two-Factor Authentication individually for their accounts. They are not forced to set it up.
Step Description Image
1
  • Users will find the new menu option “Security Settings” under the user icon.
Screen Shot 2016-04-25 at 10.52.19
2
  • Users will be introduced to Two-Factor Authentication and the option to enable it for their respective accounts.
  • If “Enable Two-Factor Authentication” is set to “Yes,” the user enters the setup wizard.
Screen Shot 2016-04-15 at 15.01.59
 3
  • Users will be presented a light box displaying the different procedures to obtain Google Authenticator for their device.
Screen Shot 2016-04-15 at 15.02.12
4
  • Depending on which device the user picks, the setup can vary (setup for Android and iOS is different from the setup for Blackberry).
  • The user either needs to scan a QR code with their device using Google Authenticator or manually type in the alpha numeric code into the application (only available for Black Berry). They will then receive a code generated by Google Authenticator.
  • Next, the user needs to enter this code into the text entry field in the setup wizard and press “Continue to next step”
  • The code is validated if it is correct. The user can then proceed to the next step.
Screen Shot 2016-04-15 at 15.02.31
 Screen Shot 2016-04-15 at 15.02.44
5
  • The user has to print a set of backup codes that they can use to log in to their account whenever they have no access to the device running their Google Authenticator application.
  • Printing these codes is very important. Otherwise, the user will have to work with the Venture’s support to restore their account if they lose access to their configured device.
Screen Shot 2016-04-21 at 12.08.01
  • To ensure that the user has retrieved a list of backup codes, they are asked to enter one of the codes in step 44.
  • Entering a correct backup code and selecting “Finalize Setup” will activate Two-Factor Authentication for the user’s account.
  • The code used for verification will remain active and can be used to log in when needed.
Screen Shot 2016-04-21 at 12.05.09Screen Shot 2016-04-21 at 12.05.34

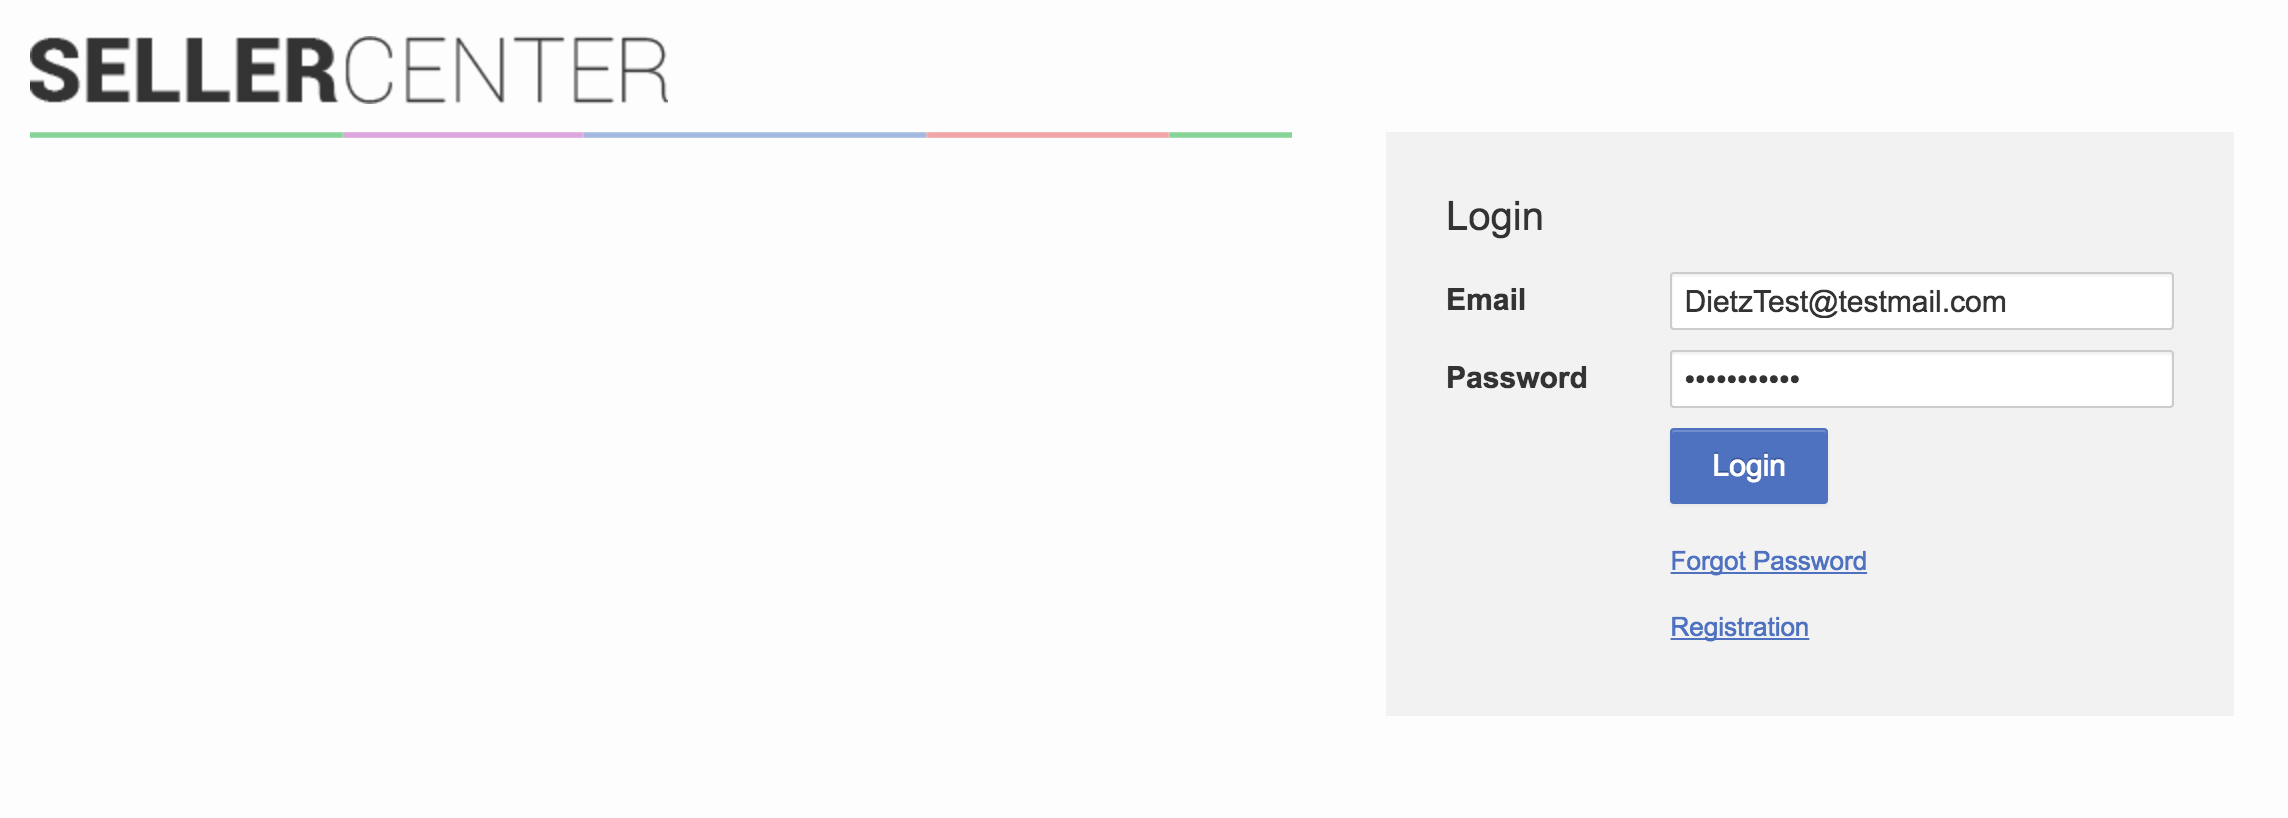
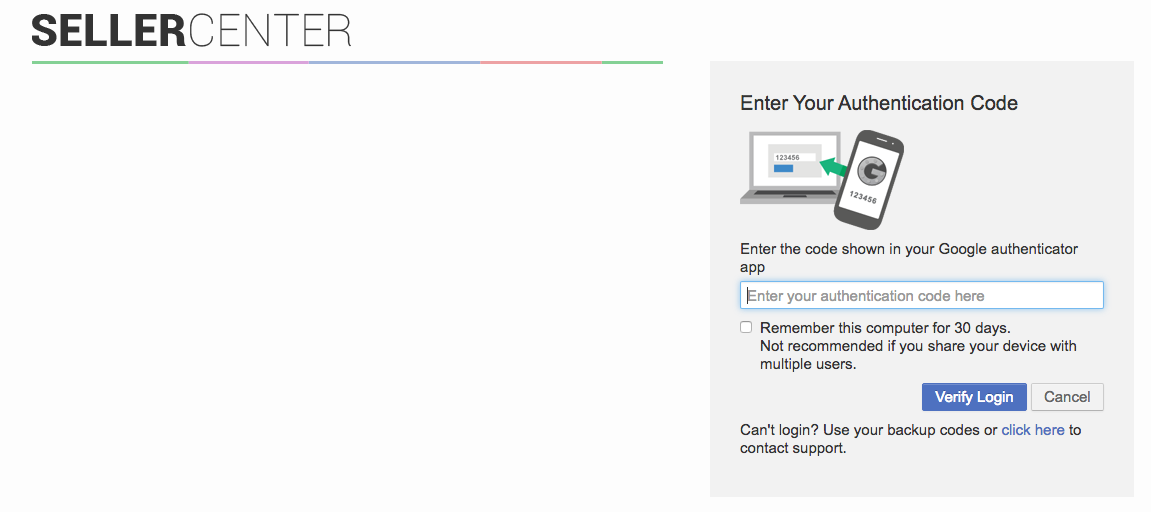
Logging In with Two-Factor Authentication

Critical Knowledge

  • If a user is not able to log in to Seller Center when Two-Factor Authentication is set up, the user will be able to send an email to support (configured email address under help/mail/address).

Step Description Image
1
  • In order to log in, users are first prompted to enter their respective account details (email and password).
Screen Shot 2016-04-26 at 12.03.16
2
  • To complete the login, the user then has to enter the authentication code that is generated and displayed in the Google Authenticator app.
  • Alternatively, the user can provide one of their backup codes, which will be invalidated after it has been used for logging in.
  • Once they have used three or more backup codes, the user is reminded by flash messages after every login to generate a new set of backup codes in the security settings.
  • The user can ask for their device to be remembered for a configurable number of days (by default, 30 days). During this time frame, they will not need to provide an authentication code when logging in with the same device.
  • A link is provided for users to reach out to support if they are not able to log in to their accounts
  • After pressing “Verify Login,” the user is logged in to their Seller Center account.
Screen Shot 2016-04-27 at 14.46.43

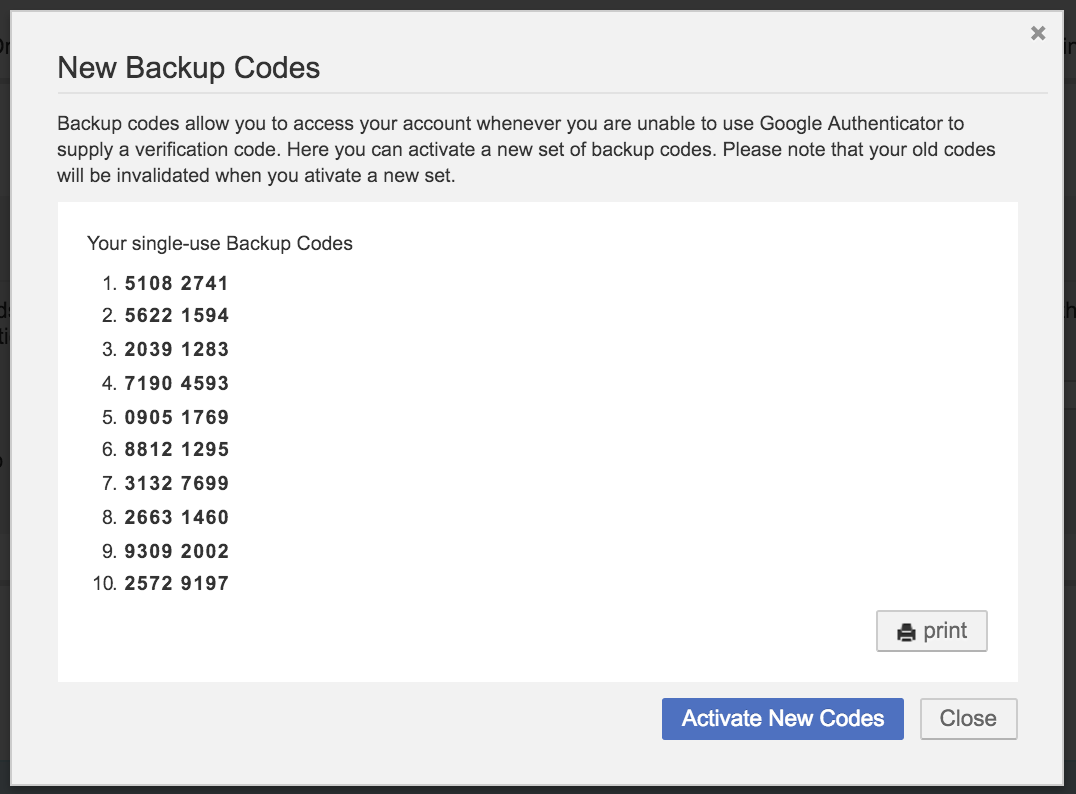
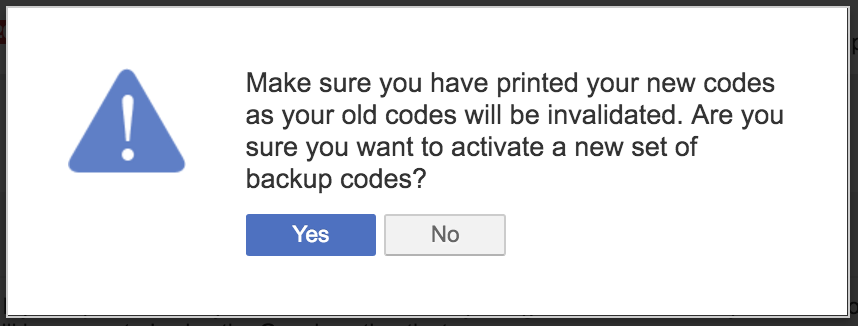
Generating New Backup Codes

Step Description Image
1
  • After enabling the feature, users can return to security settings anytime to retrieve a new set of backup codes.
  • Every time the user clicks “click here,” a new set of codes is generated.
Screen Shot 2016-04-21 at 12.05.55
2
  • After choosing to generate a new set of backup codes, a light box displaying the codes and an option to print the codes is displayed.
  • At this point, the new codes are not yet active. The user has to click “Activate New Codes” to invalidate their old codes and activate the new ones.
Screen Shot 2016-04-21 at 12.06.08
 3
  •  After choosing “Activate New Codes,” the user has to confirm that they are aware the new set of codes will become active and their old codes will be invalidated
Screen Shot 2016-04-21 at 12.06.17
4
  • A flash message confirms the successful activation.

 Screen Shot 2016-04-21 at 12.06.26

Recovering a User’s Account

Critical Knowledge

  • Only admins can recover a user’s account that can not be accessed anymore.

Step Description Image
1
  • Admin user switches to the respective Seller account through “Seller Management” or through the switch next to the Seller name.
Screen Shot 2016-08-08 at 12.11.33
2
  • Through the Seller settings, the admin user enters the “Manage User” area of the Seller.
  • For users with Two-Factor Authentication activated, the “Actions” column will show “Disable 2FA”
    • This option will disable Two-Factor Authentication for the selected user, who can then go through their security settings to set the feature up again.
Screen Shot 2016-08-08 at 12.22.23