Seller Fees CSV Export & Import
Objective
As an admin user or Seller Manager, I want to have an overview of the fees that Sellers are paying.
As an admin user or Seller Manager, I want to massively apply fees to Sellers through CSV upload.
Critical Knowledge
If you want to enable Seller Fees Export and Import, please raise a TMLSD ticket. The parameter that needs to be enabled is fees/export_import/enabled.
For performance concerns, there is a configurable cap for the number of rows in CSV export. Default value is 100,000 rows.
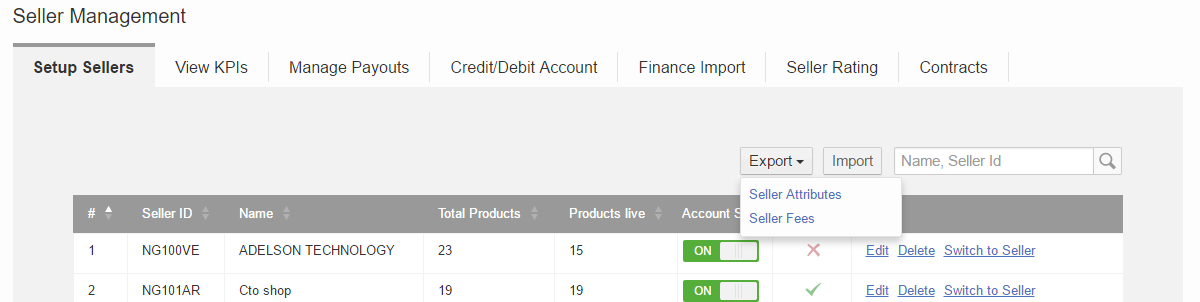
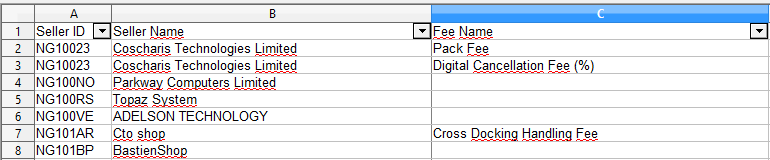
Seller Fees Export
- The Seller Fees Export function allows an admin user to have an overview of fees applied to all the Sellers.
| Step | Description | Image |
| 1 |
|
|
| 2 |
|
|
| 3 |
|
|
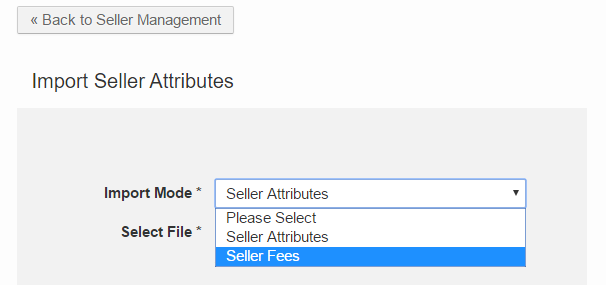
Seller Fees Import
- The Seller Fees Import function allows an admin user to massively apply fees to Sellers.
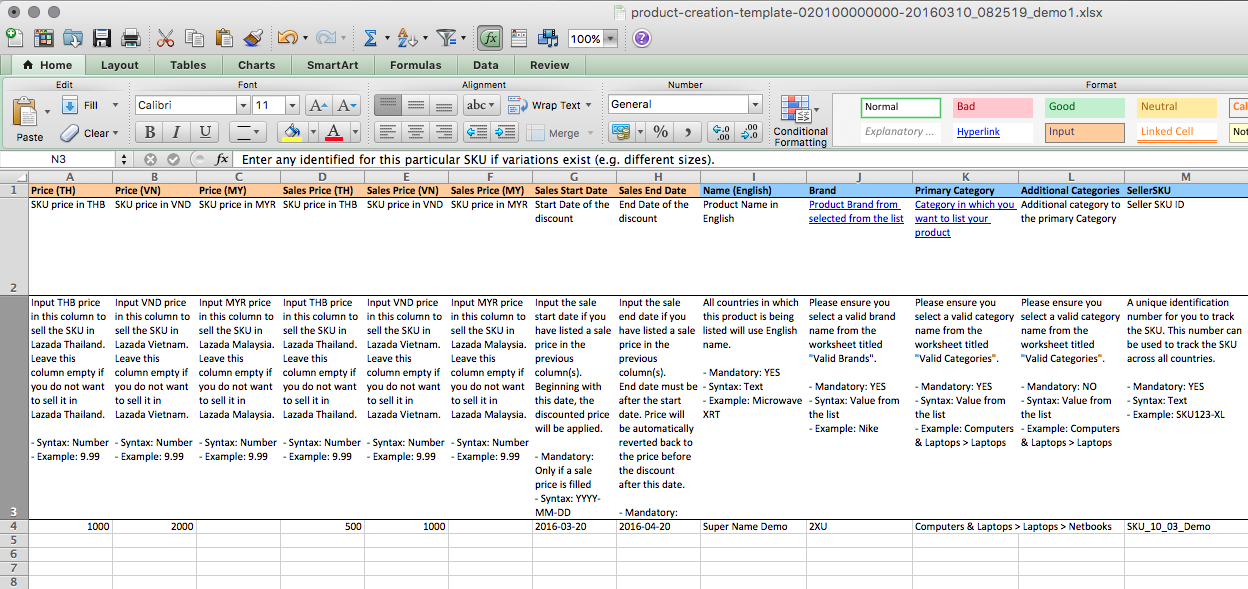
Critical Knowledge
- For a more user-friendly import, we have added validation and dropdown menus for the fees. These currently only work if you open the file with OpenOffice.
