Browse Nodes
Contents
Objective
- Browse nodes work like additional categories or cross-listing categories.
- The feature allows Sellers to list their products in two additional categories that are not related to the main category but are located next to it and the main subcategories.
- Product information and content will still be be based on the main product category.
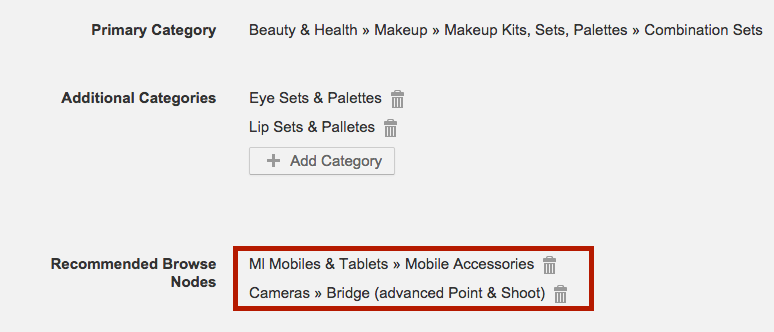
ExampleProduct: Apple iPhone 4, 32 GB is placed in the main category:
- Mobiles & Tablets > Mobiles > Smartphones
With the Browse Nodes feature active, it can also be placed in:
- Home & Living > Kitchen > Dishes
- Health & Beauty > Perfumes
Critical Knowledge
- Activating browse nodes will allow you to also add browse nodes to master templates, 2 browse nodes are activated by default.
- If you want to configure additional browse nodes, please raise a TMLSD ticket stating the amount wanted. The parameter that needs to be configured is browse_nodes/amount. Additional browse nodes is not supported by master templates.
- If browse nodes are activated, this will reflect in CSV file, API integration, and product UI.
- Browse nodes can be translated in the Translation Editor to give them another name like “Additional Cross-Listing Categories,” etc.
- Browse nodes are optional and don’t need to be added after activation.
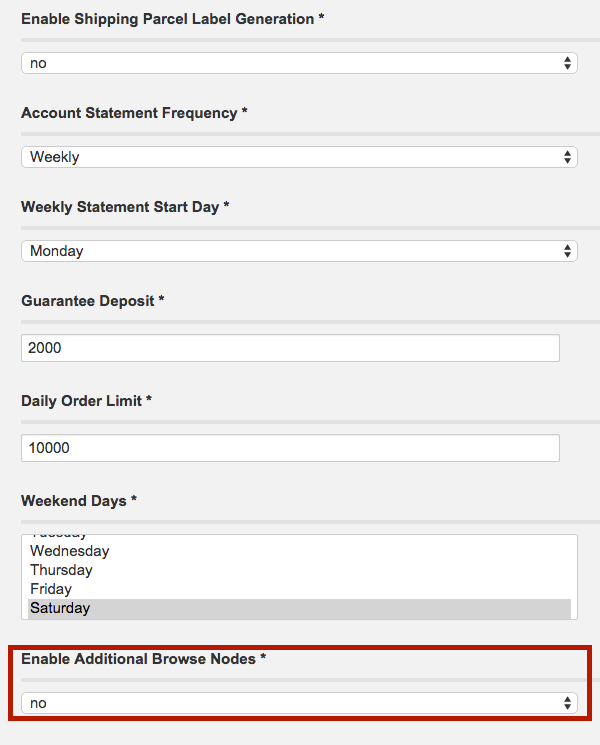
Browse Nodes Activation
Can be done by Seller Center admins in the global and Seller settings:
Product Creation via UI
| # | Description | Image |
| 1 |
|

|
| 2 |
|

|
| 3 |
|
|
| 4 |
|

|
Product Creation via CSV/XLSX
| # | Description | Image |
| 1 |
|
|
| 2 |
|
Product Creation via API
| # | Description | Image |
| 1 |
|

|
| 2 |
|
Master Template Generation
| # | Description | Image |
| 1 |
|
|
| 2 |
|
|
| 3 |
|