Seller Profile Configuration (and Document File Upload)

Objective

  • Seller Profile Configuration allows admins to define which Seller-related fields are:
    • Mandatory
    • Editable
    • Quality control (QC)-able
    • Available (enabled)
    • Send to Shop
  • Allows the Venture to define new fields in the Seller profile and adapt the registration flow to the local laws or Venture processes.
    By default, the feature is available only to admin and backend Seller setup user roles.

Seller Profile Configuration Setup

# Description Image
1

Go to Administration > Seller Profile Configuration

Switch to the “Fields Configuration” tab

  • The five actions that can be configured per field are:
    • “Enabled”: determines whether the field is visible to the Seller or not.
      • Not all fields can be changed.
      • This will be updated to the Shop system.
    • “Mandatory”: determines if the Seller needs to enter data in this field.
    • “Edit”: determines whether or not a change/update is possible after initial data input.
    • “QC”: changes to this field will require that the Seller be manually approved.
    • “Send To Shop”: changes to this field will be sent to the Shop. Can not be edited for the default fields.
Screen Shot 2016-07-22 at 13.06.37
2

To add a new field, click “Add”

Please note: Currently it is only possible to add new fields and files at the end of the profile or at the bottom of the registration step.

To edit an existing field, click “Edit”

Settings:

  1. Give the field or file a name.
  2. Choose the type of the field.
  3. Validation Regex – Fill in to have a custom validation for the field.
    • available for the text and text area field types only
  4. Validation Error Message – Type in your custom validation message that will be displayed in case of the validation error.
    • available for the text and text area field types only
  5. Help Text – Optionally provide a help text that will be displayed under the input field.
  6. Choose the group/area of the profile where it should appear.
  7. Choose the following file settings:
    1. “Needs QC”: Whether or not changes need to be approved
    2. “Is Editable”: Whether or not the field or file can be updated
    3. “Is Editable by Seller”: Whether or not the Seller can update it
      • Please note: Sellers can only edit what is already globally editable (previous checkbox).
      • Please note: Sellers with enabled ACL Resource “Backend seller support write” can edit all fields regardless of the specific field configuration
    4. “Is Mandatory”: Whether or not it is mandatory for account creation
    5. “Is Visible in Admin Seller Registration”: whether the field should be visible during the seller registration.
      • Please note: The setting is editable by default only for some text fields (e.g. “business registration number”); for others, it cannot be changed (e.g. always mandatory for “email”).
      • If you would like to add more fields to be available for configuration, please raise the TMLSD ticket. Parameter that needs to be activated is seller_profile/ admin_seller_registration_from_profileconfiguration/enabled
      • Available only for the text type fields.
    6. “Send to Shop”: Whether or not it should be sent to the Shop during profile sync.
      • Please note: the name of the field is the same as the one used in step 1, except that the space is replaced by an underscore (“”).
    7. “Add placeholder in document placeholders”: Whether or not a placeholder should be added to document templates.
The field for “Label” can be used to give any newly-created entry any name. This name can be changed at any time.

If any of the profile fields (e.g., “First and Last name,” “Legal Name / Company Name,” etc.) should be changed, please use the Translation Editor of Seller Center; otherwise, no changes will be applied.

Note:

These fields (or files) can be used to obtain information from the Seller or to keep information about them. They can be entered in three ways:

  • By the Seller during registration (if you also enabled the five step registration flow).
  • By the Seller on their “Your profile” page.
  • By the Venture only (when a field is used for internal purposes).

“Add”

“Edit”


3
  •  Status changes on fields will be posted in the Audit Log.
audit_log
4

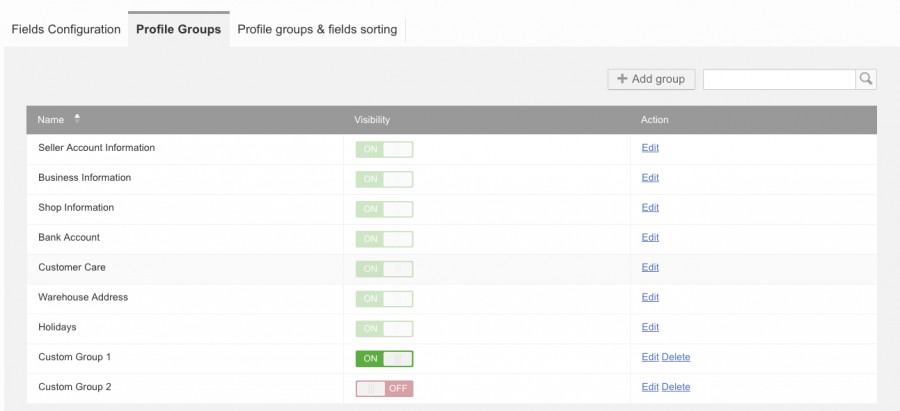
Switch to the “Profile Groups” tab

Here you can see all default groups and create custom groups.

  • Click “Edit” to rename a group.
  • Only custom groups can be deleted and switched to invisible.
5

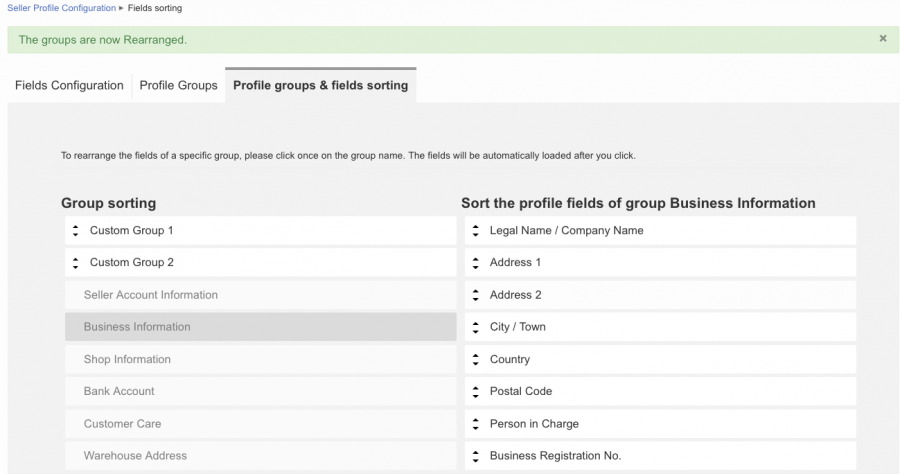
Switch to the “Profile Groups & fields sorting” tab

Here you can rearrange custom groups and fields inside groups.

Custom groups and sorting of groups will not be reflected in the Seller Registration page, but only in the Seller Profile.
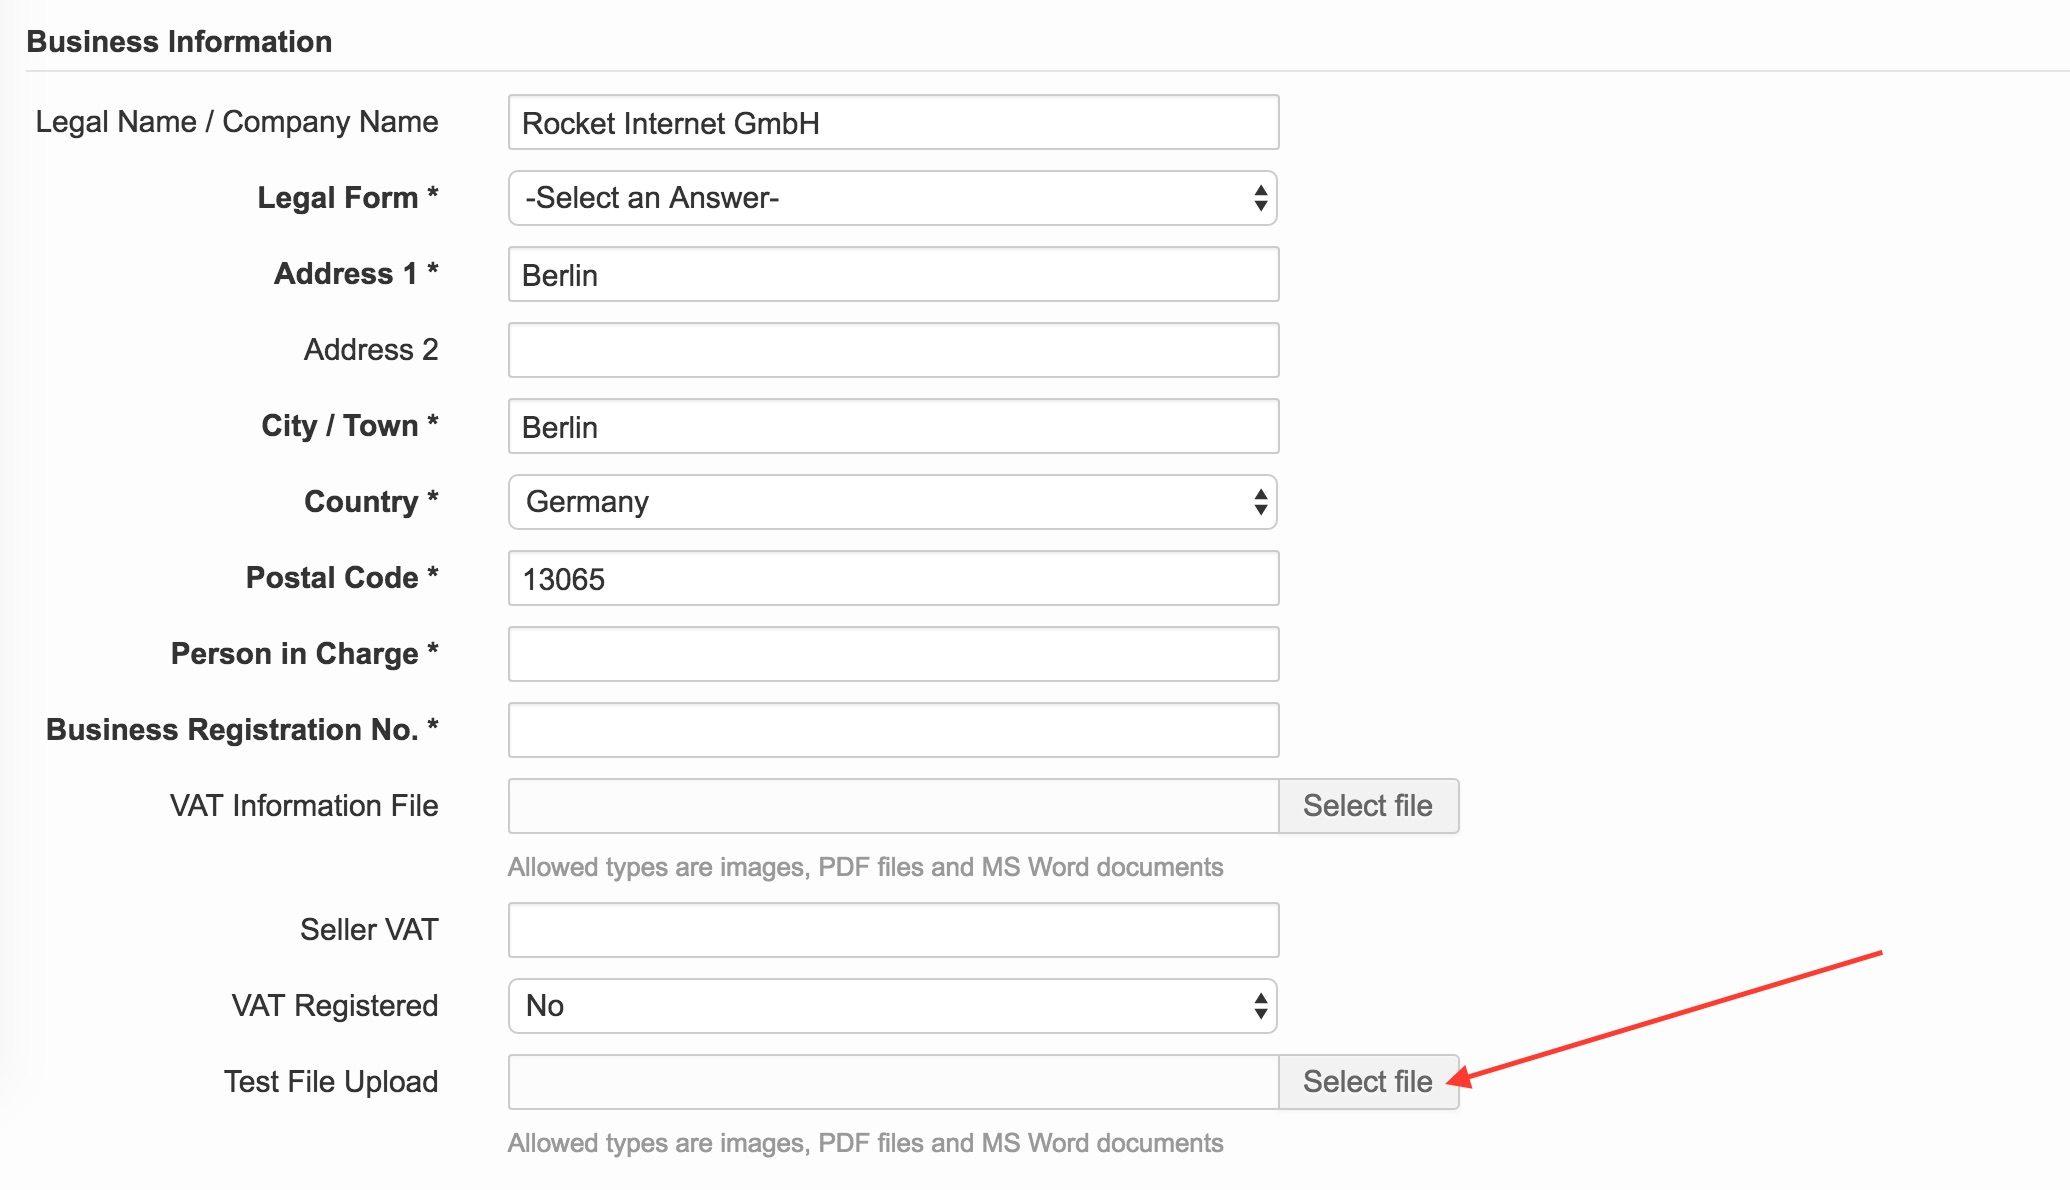
 

Display for Seller

The Seller sees this new profile page content on the following pages:

Page Image
During the signup process on the corresponding page file_upload7
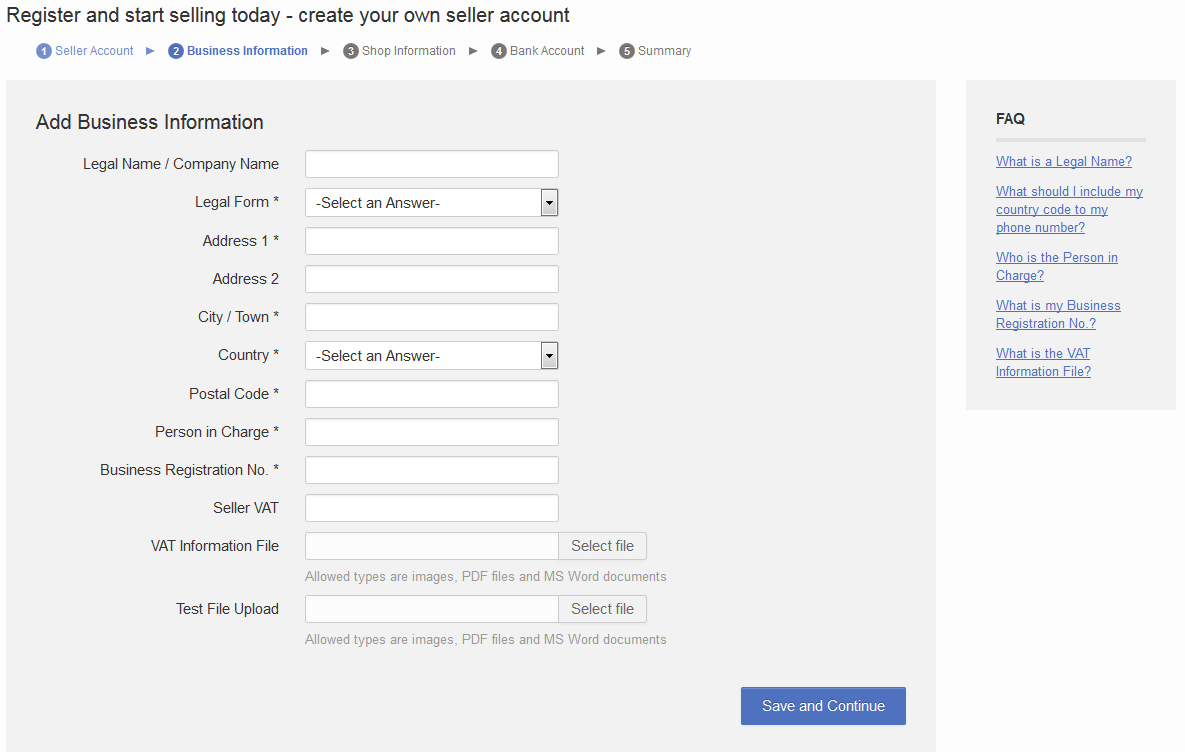
During the signup process on the summary page file_upload8

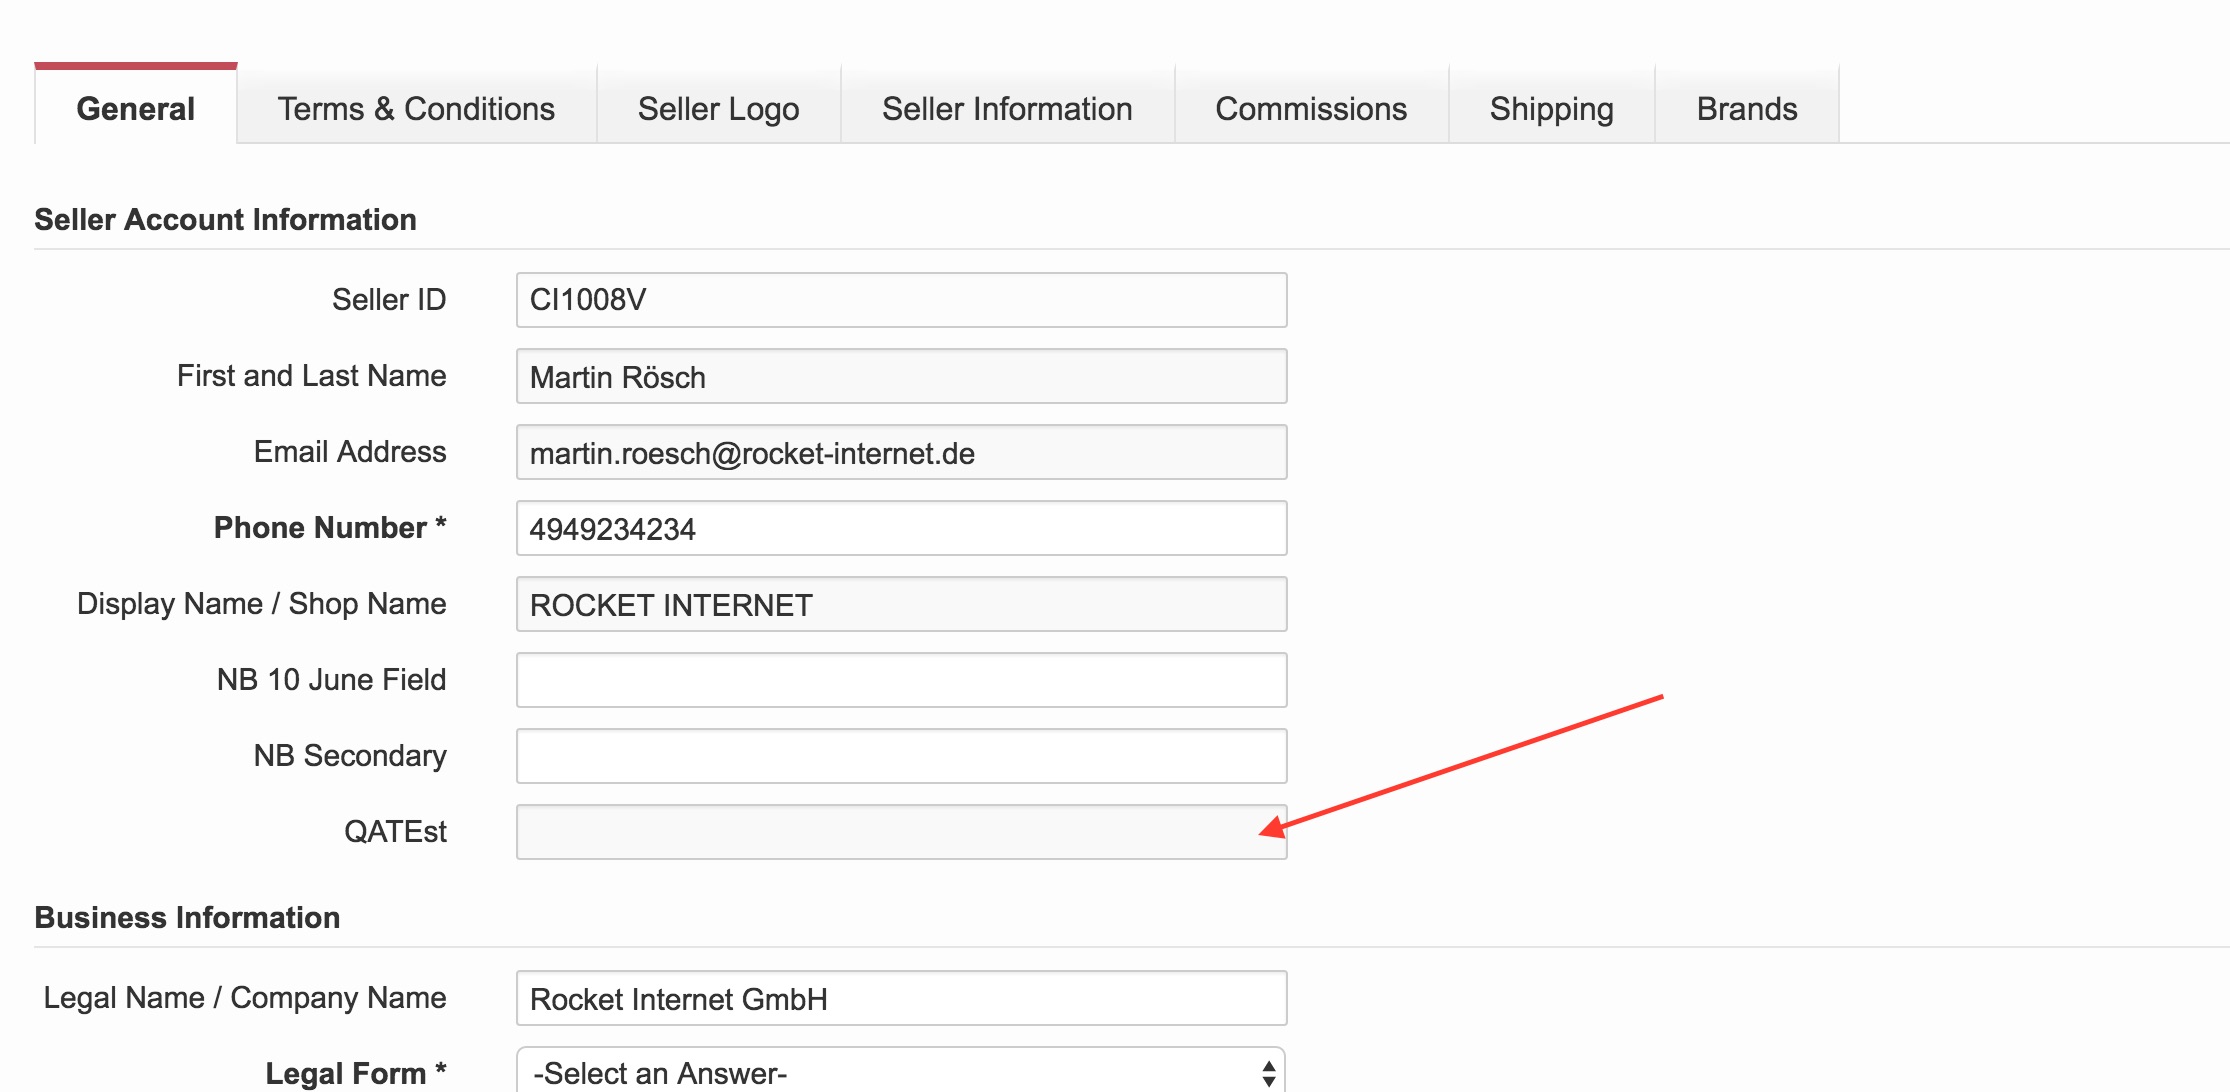
On the profile page itself.

See example of:

  • Field added in “Seller Account Information”
  • File added in “Business information”

Communication with Shop


Step Image

It is possible to check the “Send to Shop” box in order to trigger communication to the Shop system.

This option is disabled for some fields (e.g. company type / legal form), but it is possible to enable this setting.

For fields, which are very much needed for the Shop-communication it is not possible to disable the setting, e.g. for name or seller-email. For those fields the “Send to Shop” option is always enabled.

This will trigger an updateSeller call to the Shop.

All new fields will be part of “seller_custom_information” (see example on the right).

Please refer to the API documentation for more details.


“seller_custom_information”:{

“Some_Text_Field”:”on”,
“Some_Textarea”:”on”,
“Some_File”:”api:\/\/v1\/seller-documents\/download\/?documentId=39″,
“Some_Dropdown”:”Eve”,

“cms_company_type”: “GbR”,
“person_in_charge”: “me”,
“is_brand_owner”: “1”,
“brands”: “1018,2762”,
“main_categories”: “2087”,
“sell_product_number”: “101”
},


Document Placeholders

Step Image
As explained above, there is no possibility to add a placeholder when the “Type” is set to “File”
If the “Type” is set to “Text” or “List,” then there will be a checkbox allowing a placeholder to be added.
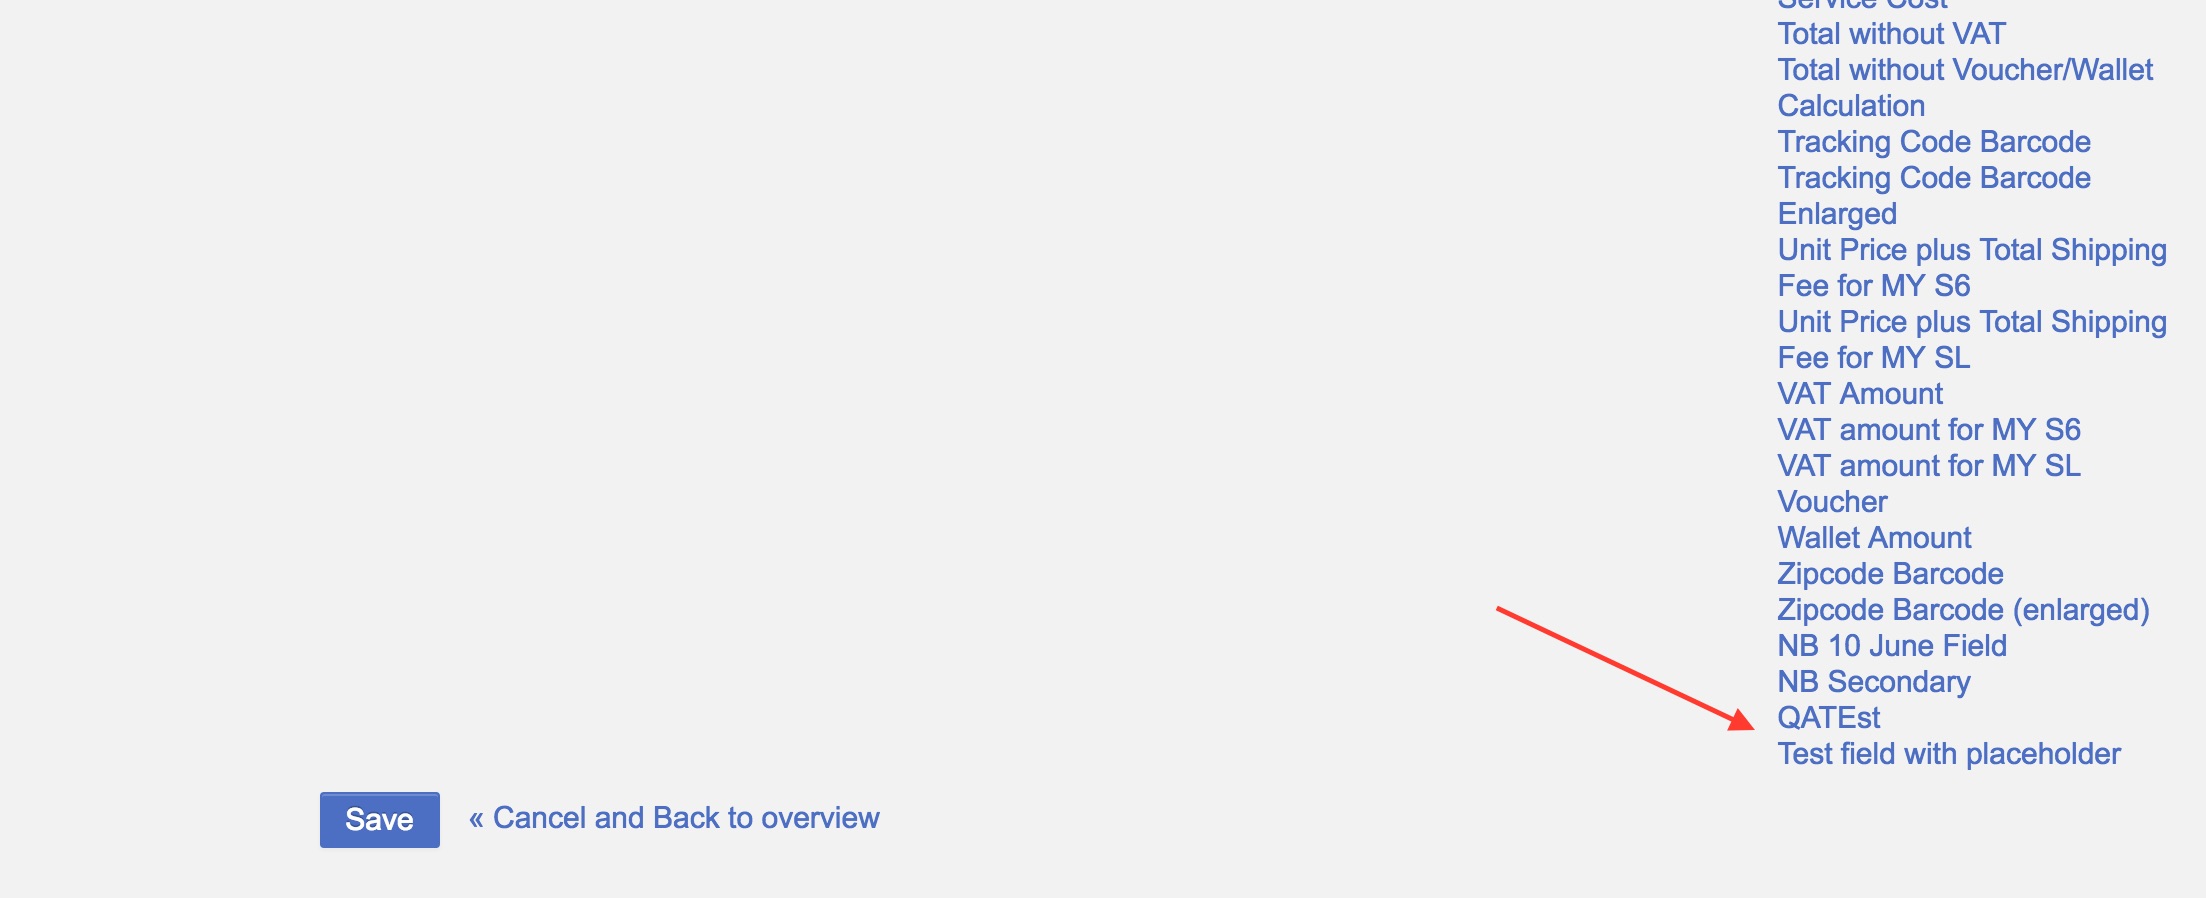
When the checkbox is ticked, a new placeholder is added to the following document template types (shown at the end of the placeholder list):

  • “Invoice”
  • “Shipping Label”
  • “Credit Note”
  • “Manifest”

Please see the section below for more info on placeholder management.


See also: Import and Export of Seller Profiles