Reduction of Quality Control Rejections – Image Validation – Price – Other
Objective
Sellers should be encouraged to provide high quality product content so that their products are more likely to sell through the Shop. In order to achieve this, and to achieve a fast “going live” procedure for products, it is important that products have high quality content so that they can be approved immediately.
- This way, multiple rounds of rejecting and correcting product listings can be avoided.
Seller Center provides three ways to reduce quality control rejections:
- Price
- Image
- Other
Image Validation
Setup
| # | Description | Image |
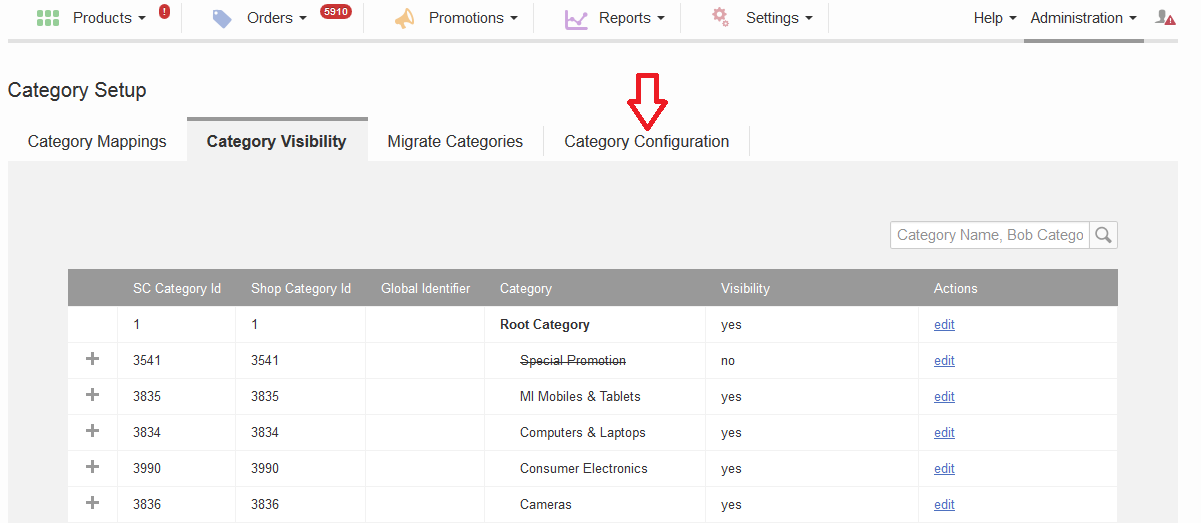
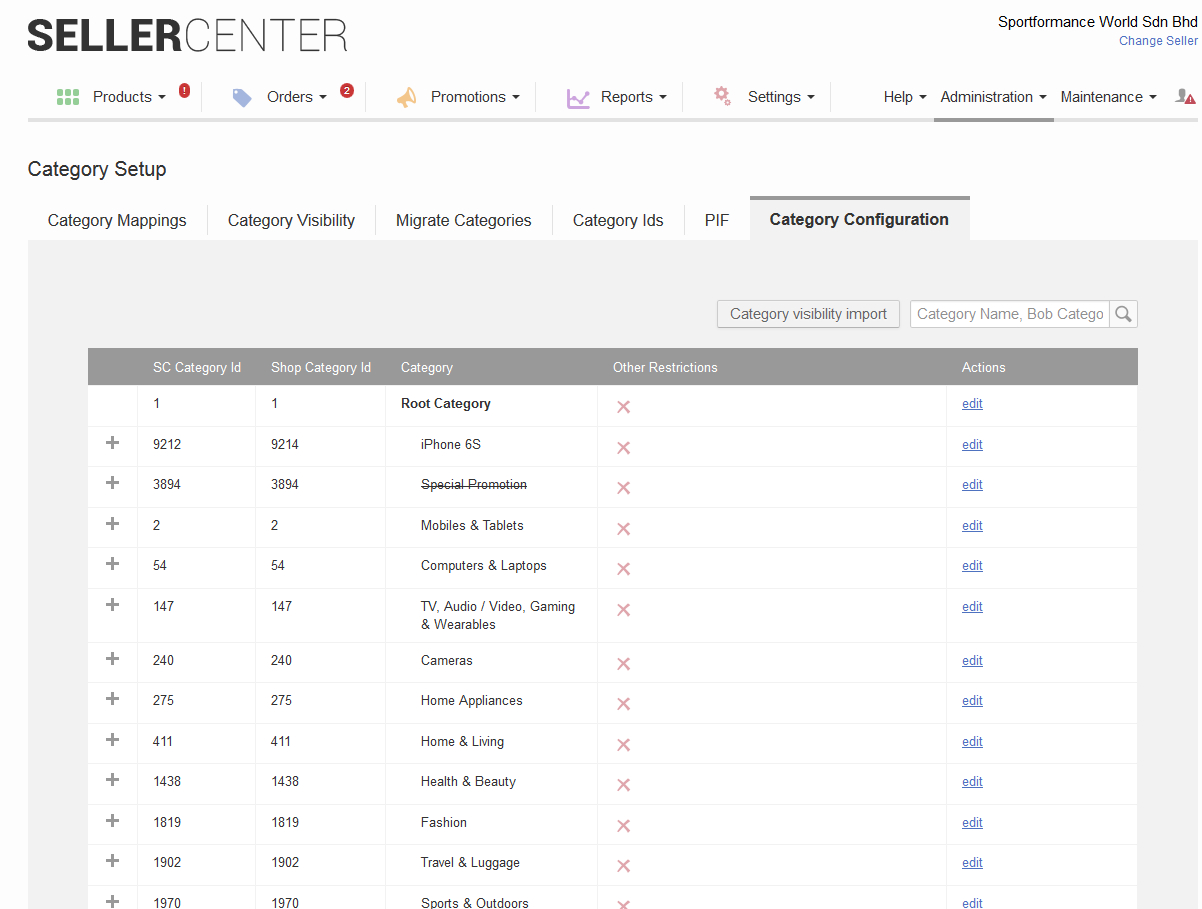
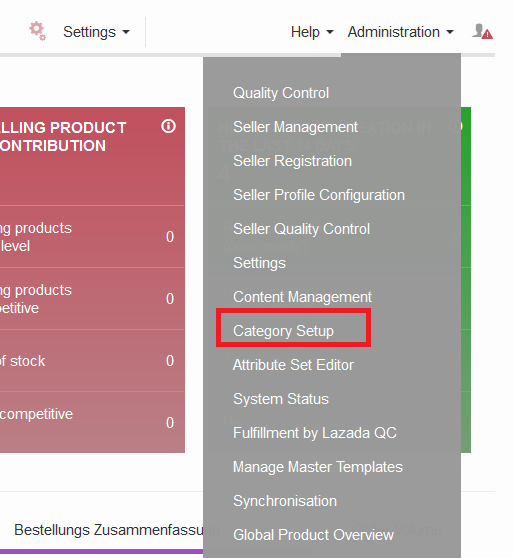
| 1 | Go to Administration > Category Setup |
|
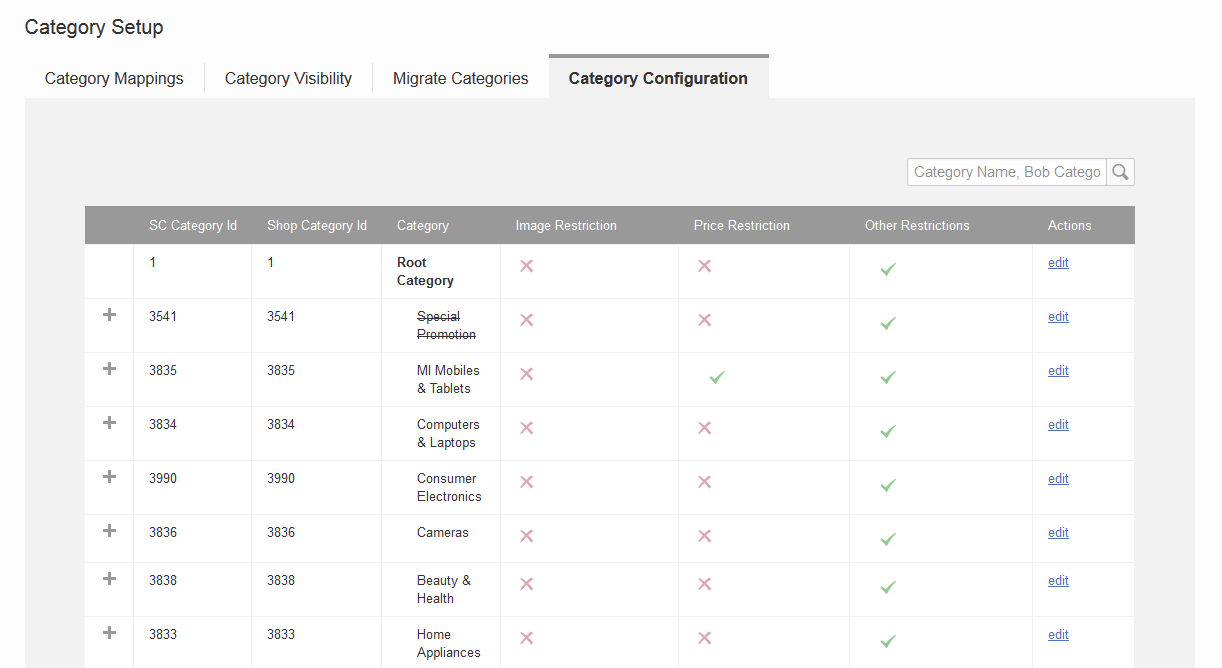
| 2 | Switch to tab “Category Configuration” |
|
| 3 |
This overview shows all categories where restrictions are configured.
|
|
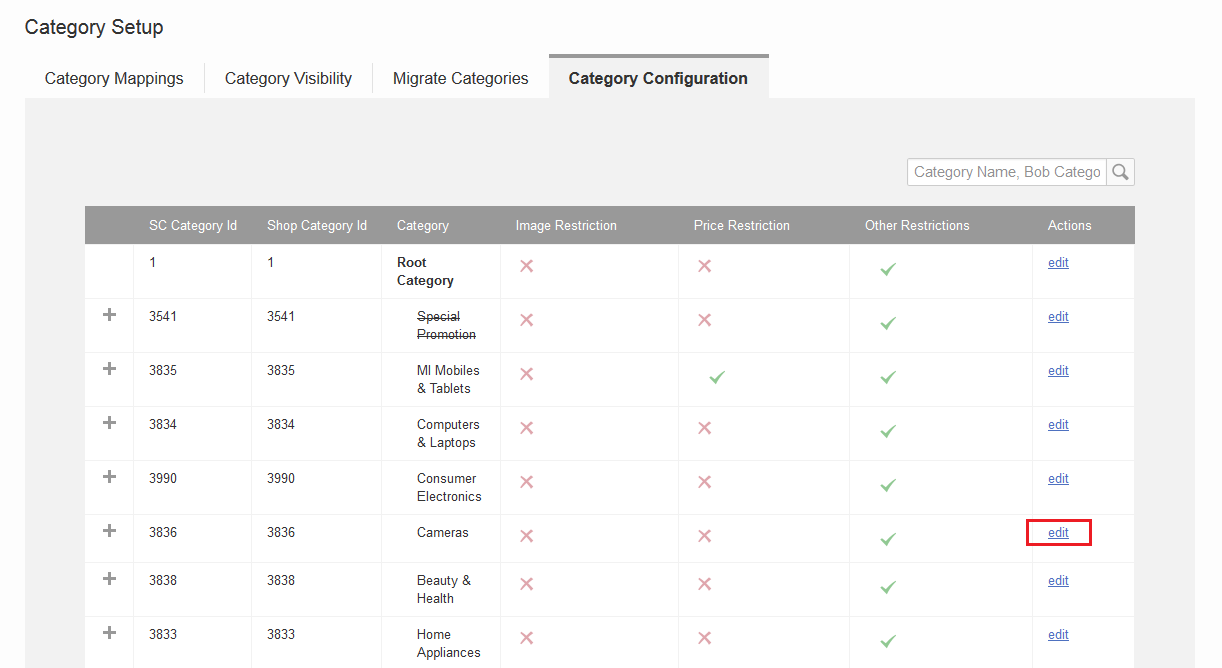
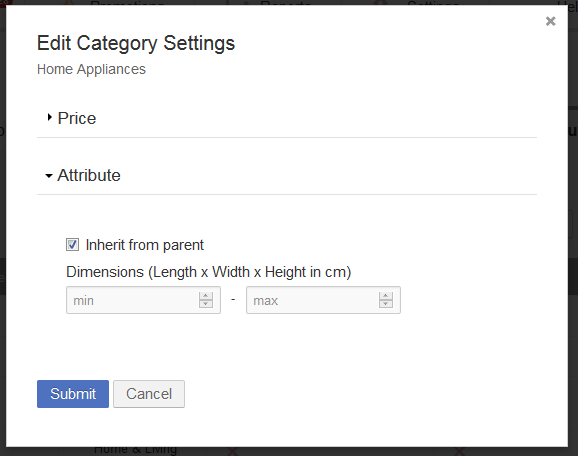
| 4 | Click on “Edit” to update a category restriction |
|
| 5 |
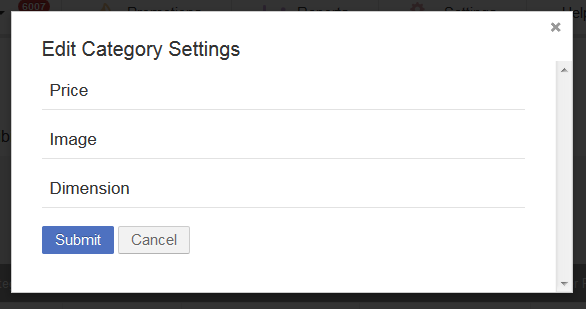
Within an accordion, three sections can be edited:
|
|
| 6 | Open the section for “Image” | |
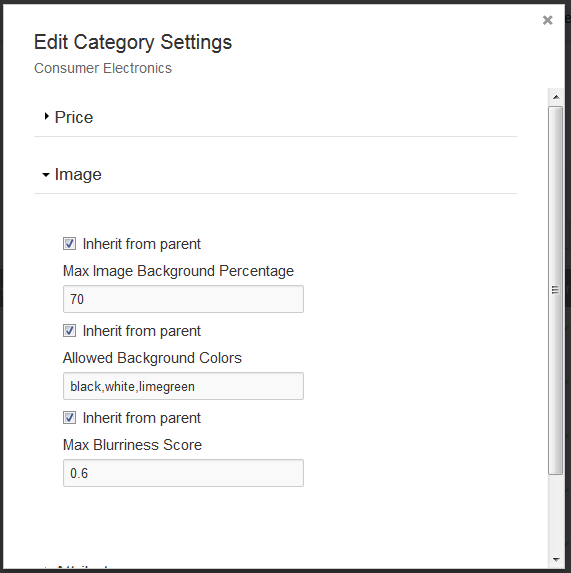
| 7 |
The “Image” section can be configured according to three values for each category.
|
|
| 8 | Click “Submit” to save the changes. |
Image Analysis
Seller Center uses an internal solution for image analysis. After an image has been uploaded in the product form, the image validation will be applied while the product is being saved. If an image does not follow the defined boundaries, an error will be displayed detailing what needs to be improved.
External Image Analysis
Furthermore, it is possible for Ventures to use their own image validation. After uploading an image, an external API can be called that will provide the corresponding results. Based on those results, the validation will be applied.
Background Size Detection
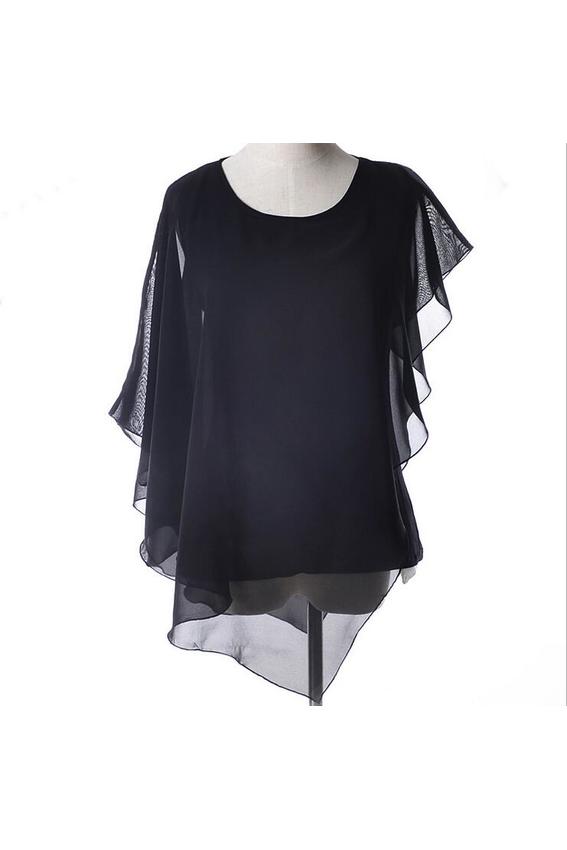
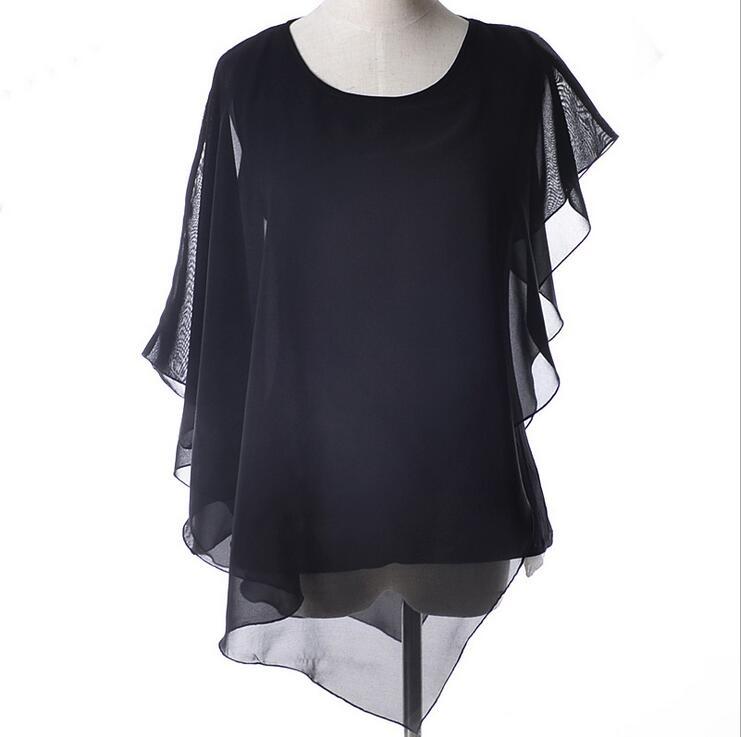
This field refers to how large the actual image object (product) should be compared to its background. This is to prevent the main image from being too small in relation to the background it is placed on.
Example: If the product image should take up at least 60% of the image, the max. background needs to be set to 40%.
| Image | Result |
|
Not approved, image is too small |
|
Approved (displayed object is larger) |
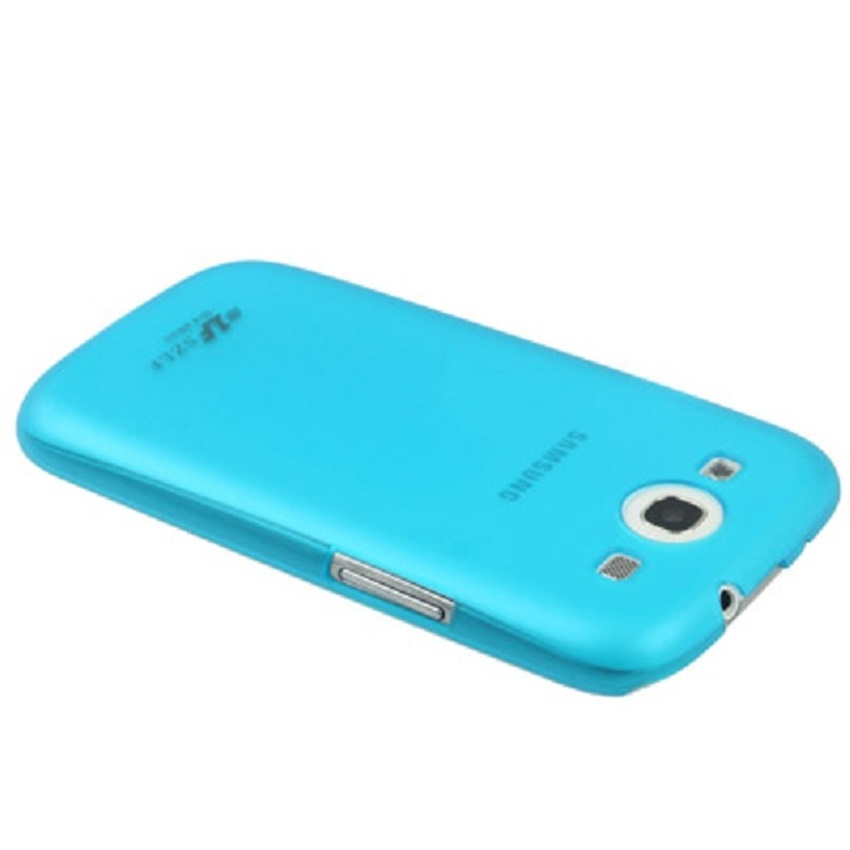
Background Color Detection
For background color detection, Seller Center picks a small square out of all four corners of an image’s background and calculates the average color value within those squares.
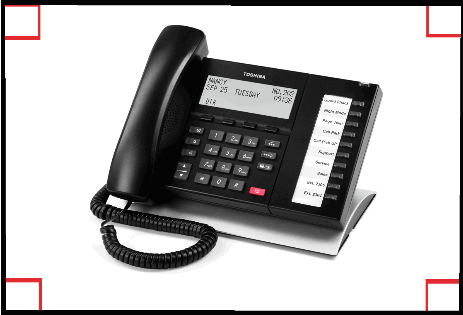
Once the average color is determined, this detected color is validated against the provided list for the specific category. If both values match, the image is saved.
Possible colors must be within the listed options here.
Blurriness Detection
Blurriness determines the sharpness of an object, i.e. how clearly edges are recognized. Example images and their results
| Image | Quality Control Result |
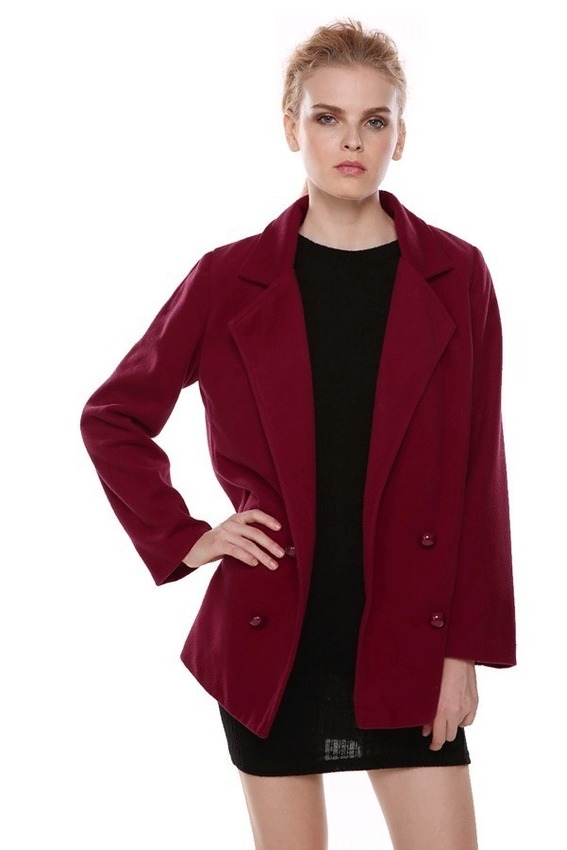
|
Approved |

|
Approved |

|
Not approved (image is blurry) |

|
Not approved (image is blurry) |
|
Not approved (image is blurry) |
Consequences for Seller during Image Validation
During a product’s creation or editing and before it is saved, the uploaded images are validated against the configured thresholds. If an image is outside of the defined range, the product is not saved and an error message is displayed.
Seller Center will immediately reject the uploaded file. During CSV/API import, an error message is also generated in the reports.
Rollout of Image Validation
It is recommended to first test the feature on the staging environment of the Seller Center installation. This is to define the boundaries and also to check whether or not the images is approved as expected.
Seller Center provides a feature switch to control whether images are immediately rejected or saved. If the switch is set to “save non-compliant images,” a message is shown that this image might not follow the defined guidelines.
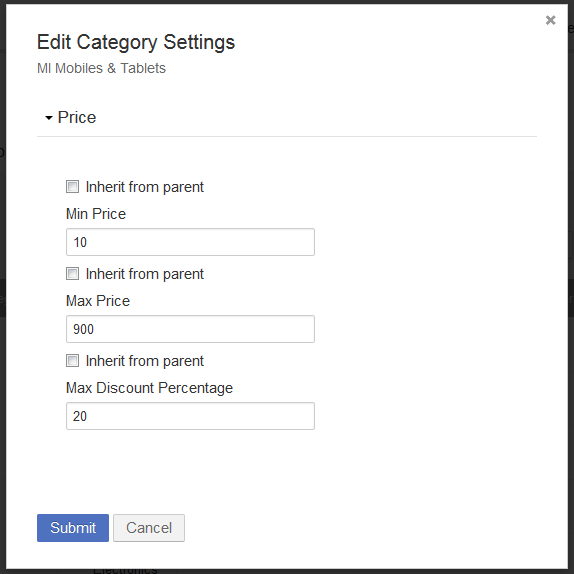
Price Configuration
Price configuration/regulation is important for ensuring that Sellers cannot add unrealistic prices or discounts for their products (e.g., if the [normal] price for the product is set to $100 and the sale price is set to $10. This would imply a discount of 90%, but the product is usually sold for $20).
Therefore, it is important to set restrictions for certain categories.
Setup
| # | Description | Image |
| 1 | Go to Administration > Category Setup | |
| 2 | Switch to tab “Category Configuration” |
|
| 3 |
This overview shows all categories where restrictions are configured.
|
|
| 4 | Click on “Edit” to update a category restriction. |
|
| 5 |
Within an accordion, three sections can be edited:
|
|
| 6 |
The price can be configured through three parameters for each category
|
|
| 7 | After editing the required fields, click “Submit” to save the changes. |
Consequences for Seller
During product creation or update, the products are additionally validated against the configured values. In case the defined thresholds are not obeyed, error messages are displayed in the UI and after CSV/API upload.
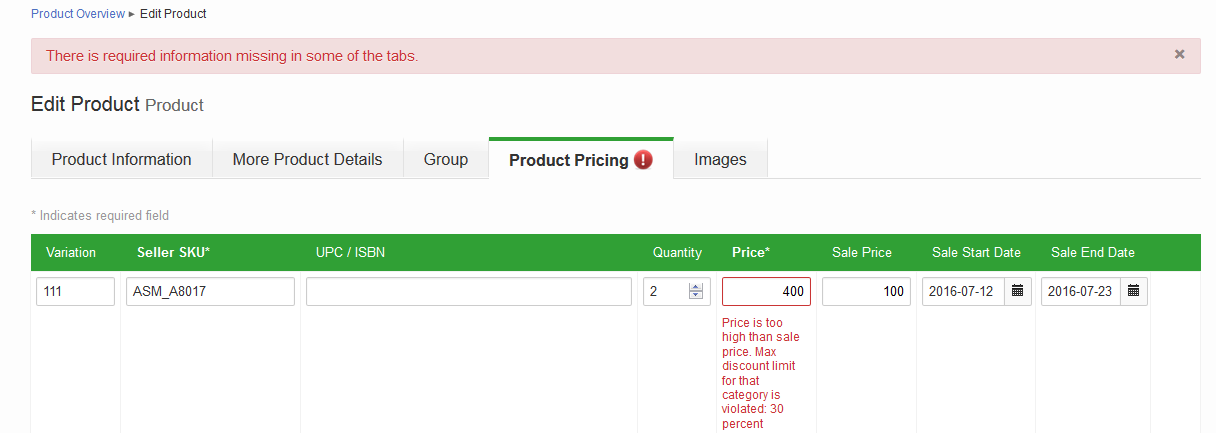 Seller will be notified if:
- Price is higher than the defined maximum value.
- Price/sale price is lower than the defined minimum value.
- Sale price is lower than defined max. threshold to price value or discount is set higher than possible.
Other Configuration
Sometimes further validation/restriction needs to be added on attributes so that Sellers can fill attributes properly. Often it is also required to distinguish between categories on the filled value. This means that in different categories, different input ranges are possible.
Objective
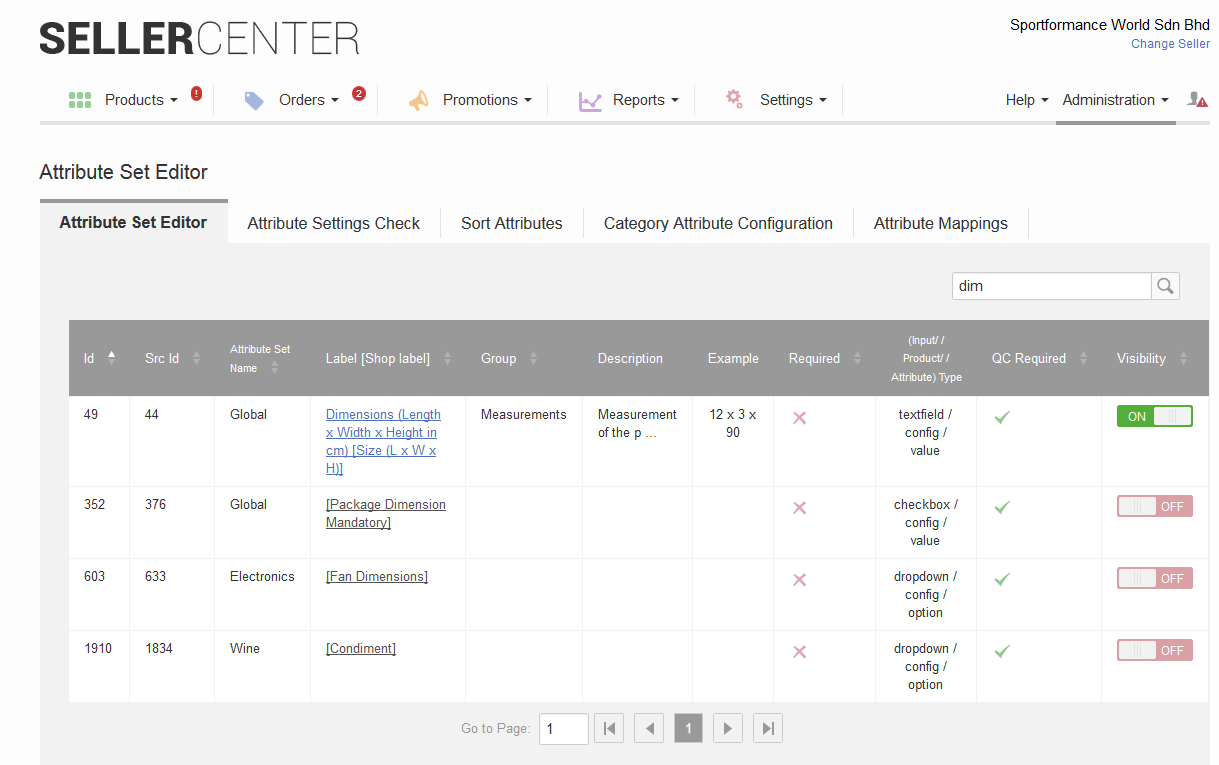
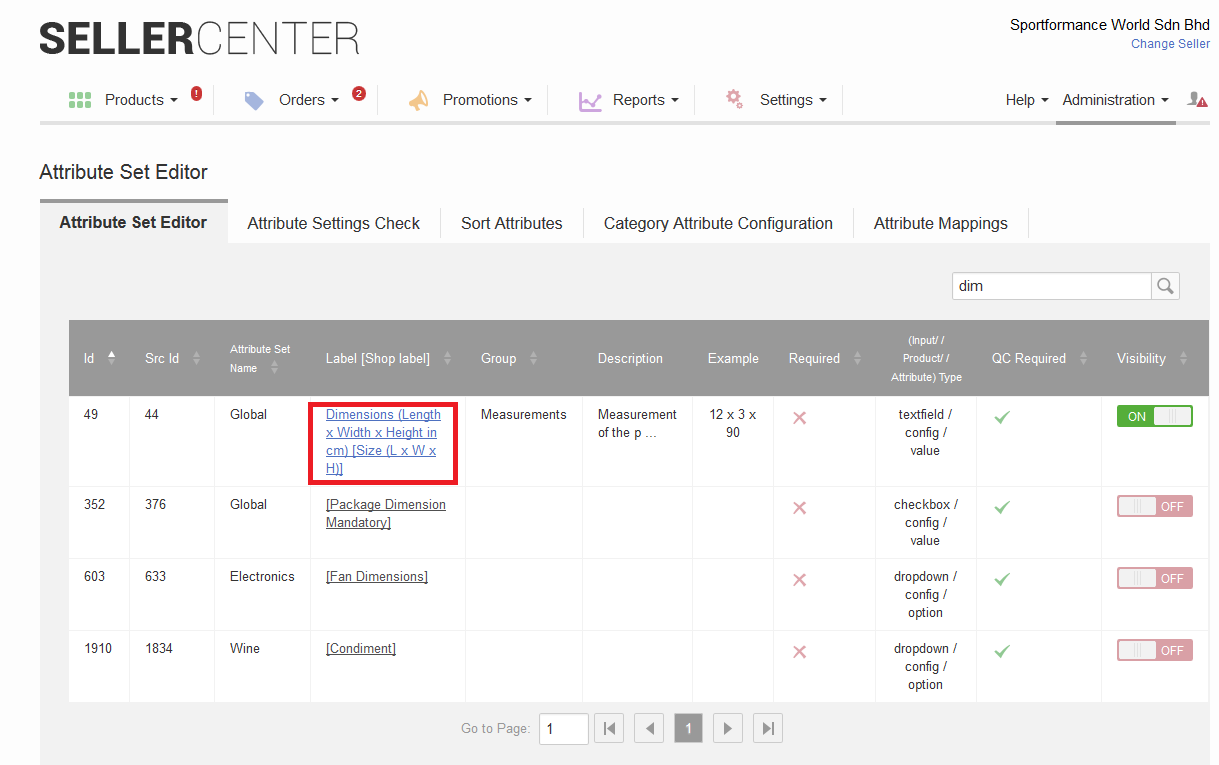
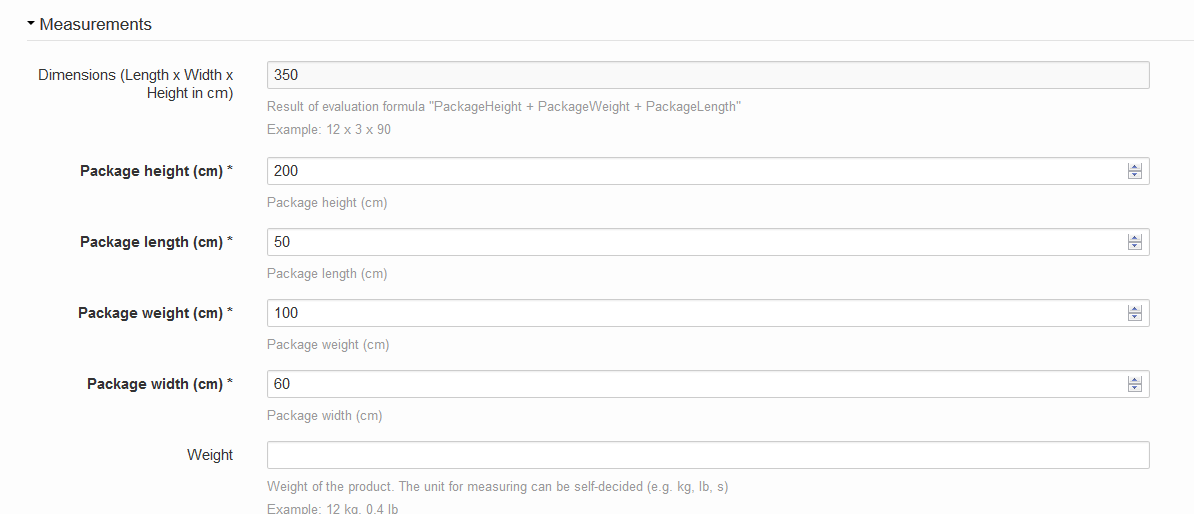
In the following section, we show how the “Other Configuration” can be set up using the example of the “dimension” attributes. Sellers usually fill out values for length, width, height and/or weight. However, even if those values are set up, they still might be wrong or not fitting for the product since the dimensions for these types of products are usually different. Some Ventures already have an attribute where the dimensional factor is calculated.
Using this feature, Seller Center auto-calculates a factor for the dimensions and automatically adds the calculation result to a specific attribute.
Setup Attribute Calculation
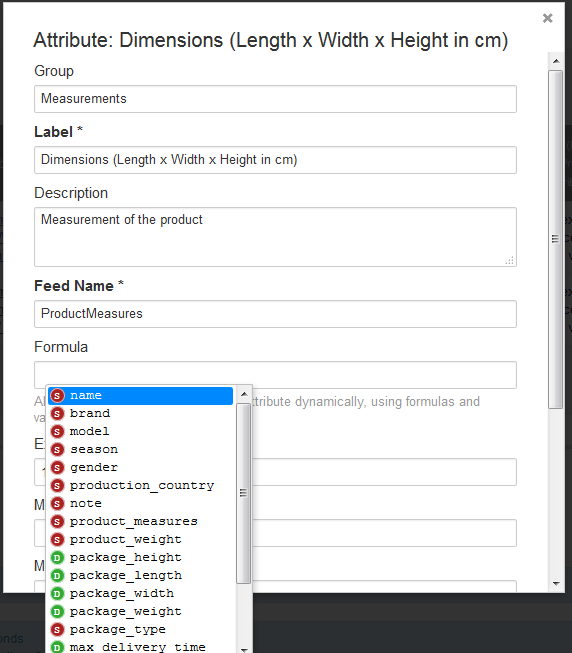

Impact for the Seller
| Seller will be informed during product creation or editing, and the configured attribute will automatically be filled with the result of the calculation. |

|
| During the editing of the attributes used in the formula, the disabled attributes (dimensions) are automatically calculated. |
|
| After all attributes are edited by the Seller and the configured limit is exceeded, an error message is displayed for the affected attribute. |

|
|
Saving the product will not be possible. Furthermore, during CSV/API upload of products, an error will also be triggered if the provided values exceed the configured limit. |