SCX – Seller Setup
Objective
- As an admin, I want to create a Seller in multiple Seller Center platforms so that I don’t have to create multiple accounts on my own in the local Seller Center (Seller Creation).
- As an admin, I want to add a Seller that is already selling on multiple Seller Center platforms in Seller Center Express, so that they can see what is going on from a central system (Seller Linking).
- As an admin, I want to turn off a Seller that already has access to the system so that they cannot log in anymore with this user (Activation and Deactivation of Seller).
Critical Knowledge
- Seller can access both Seller Center Express and local Seller Centers.
- Roles with access: maintenance and admin
Seller Creation
- The creation of a Seller will propagate information to local Seller Centers or, if a match is found with the email, link to an existing Seller profile. More information can be added and edited on local Seller Centers. After propagating the creation of the Seller, an email will be sent to the Seller for them to verify their own account.
Critical Knowledge-
Seller Creation functionality provides a set of predefined fields.
- More fields can be edited on local Seller Centers.
-
Seller creation from Seller Center Express will bypass the quality approval on local Seller Centers.
- This means there is no need to approve the Seller account in every local Seller Center.
- After creation of the Seller, an email will be sent to the Seller for them to verify their account with a link to Seller Center Express.
- The Seller creation form does not accept special characters (e.g., Thai or Vietnamese characters).
Seller Linking
- Seller Linking functionality allows an admin to give a Seller access to the system.
Critical Knowledge- Seller Linking checks if the Seller exists in all connected Seller Centers and tries to connect them with Seller Center Express.
-
Seller Linking works on the company email address in Seller Center.
- Make sure that they are the same in all target countries.
- Seller Linking does not copy products that are in the local Seller Centers to Seller Center Express.
-
Seller Linking creates a Seller Center Express user in every local Seller Center as a Seller full access user role.
- This user can only be used from Seller Center Express.
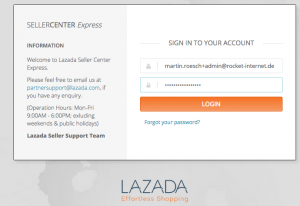
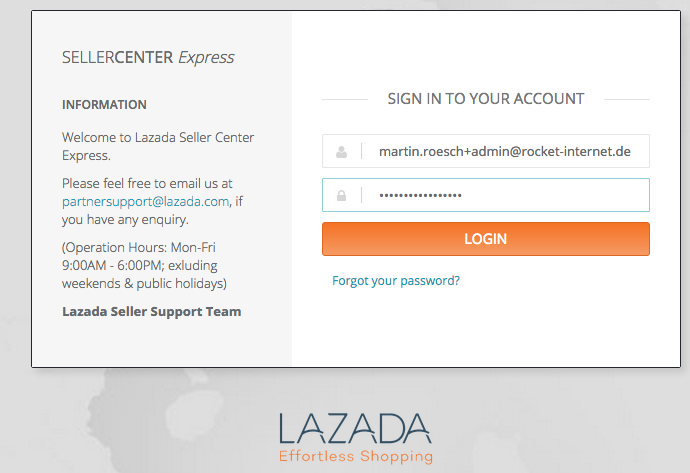
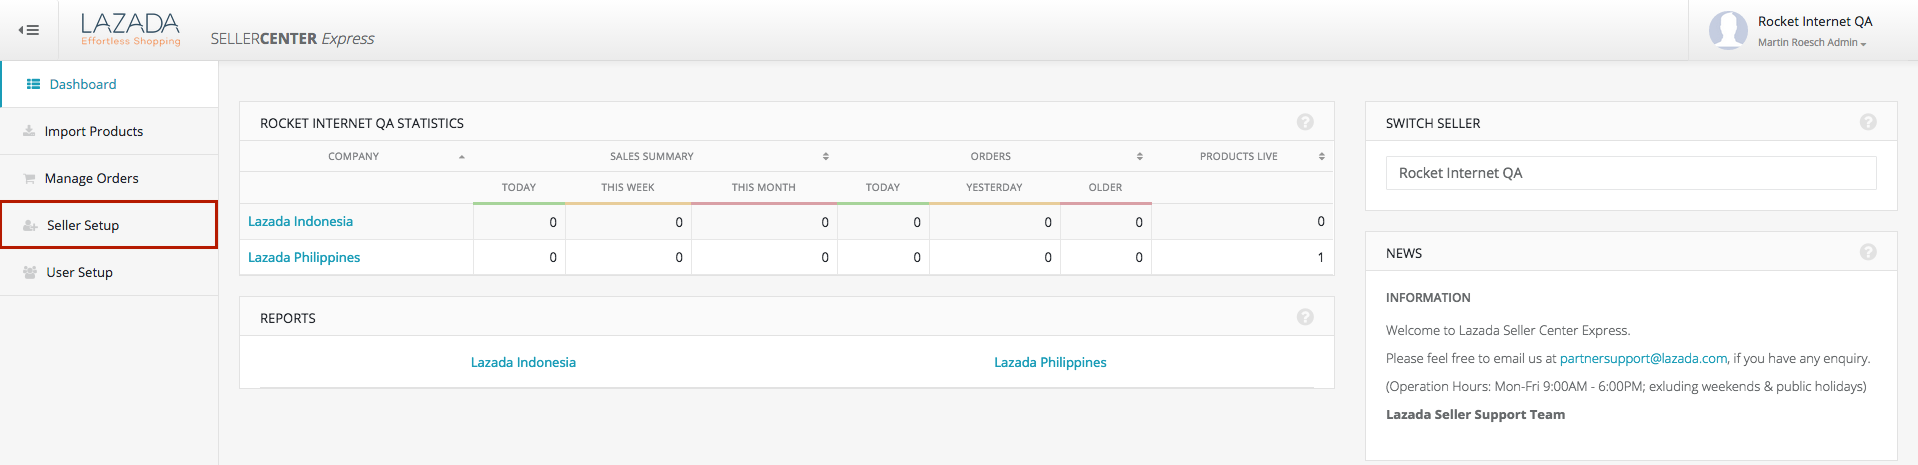
# Description Image 1 - Log in as admin or maintenance user.
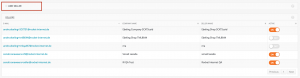
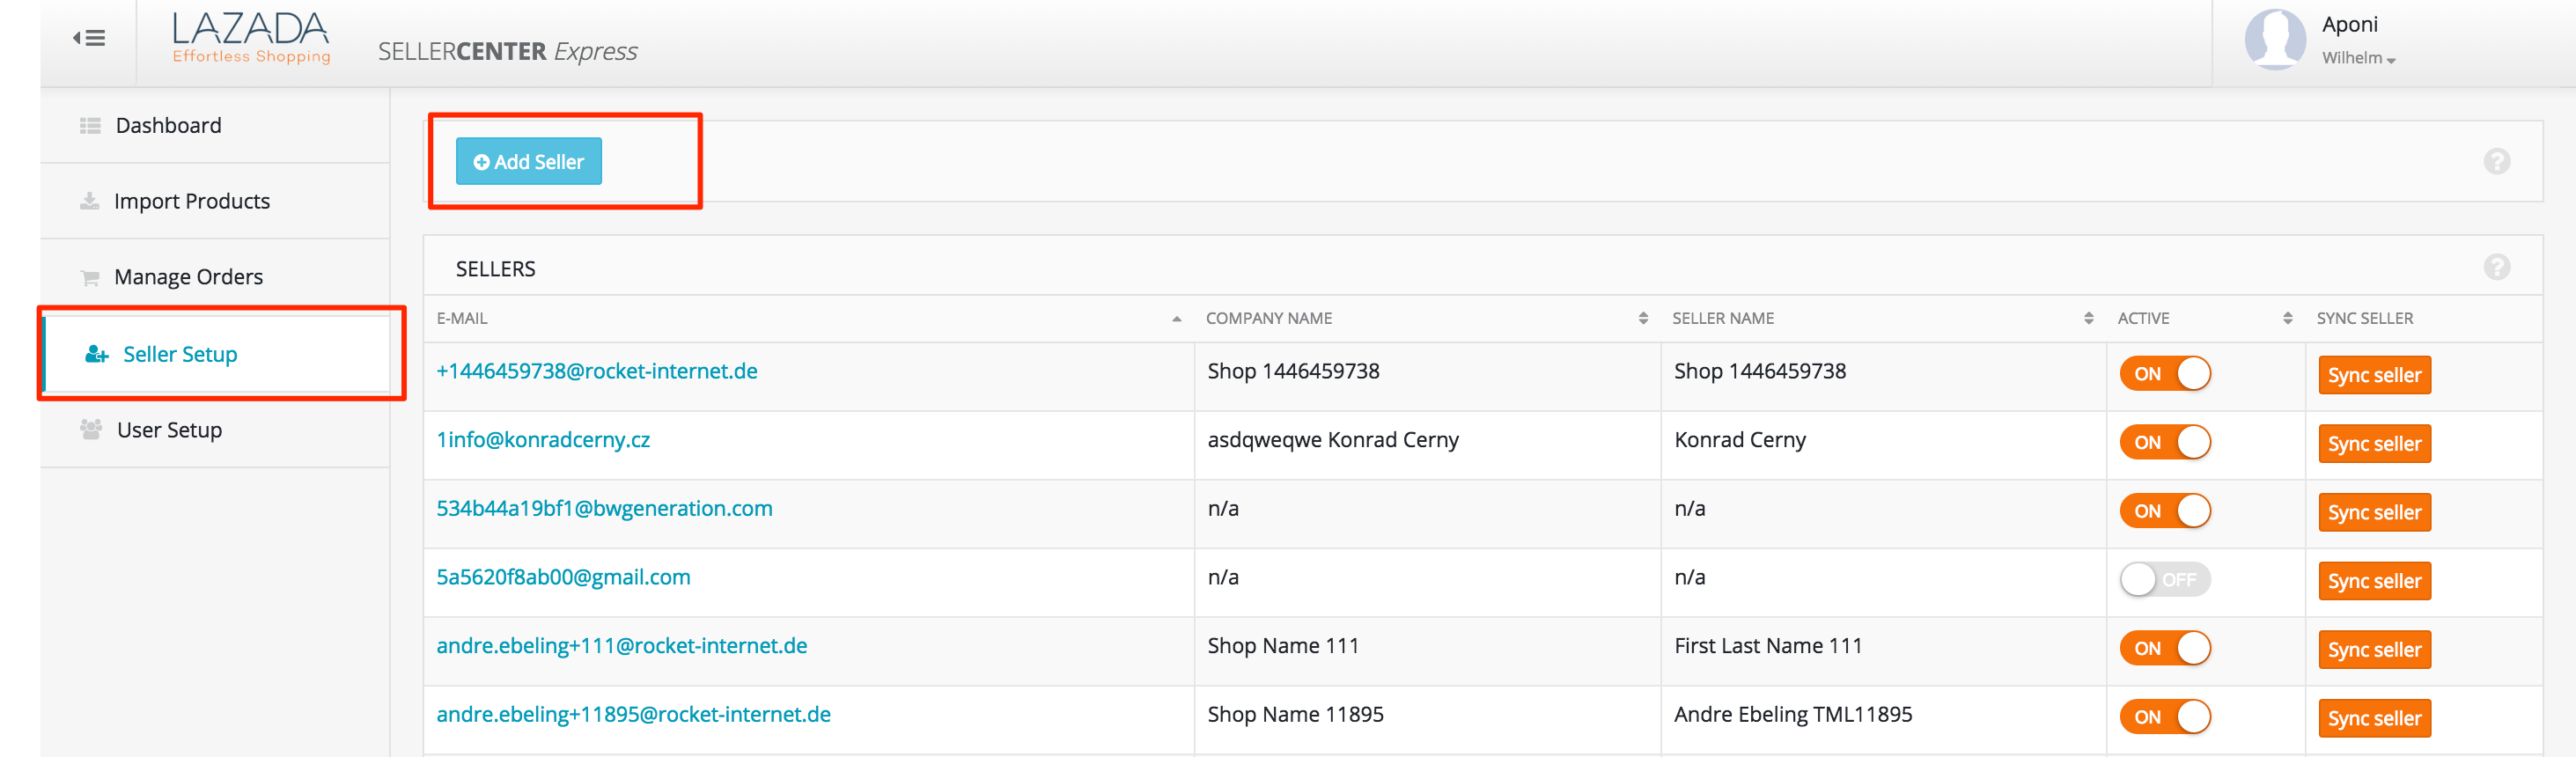
2 - Go to “Seller Setup” page.

3 - Click “Add Seller”
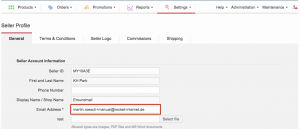
4 - Add a Seller email address.
- Important: Remember to use the Seller email address, not the user address.

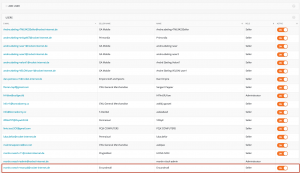
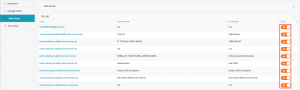
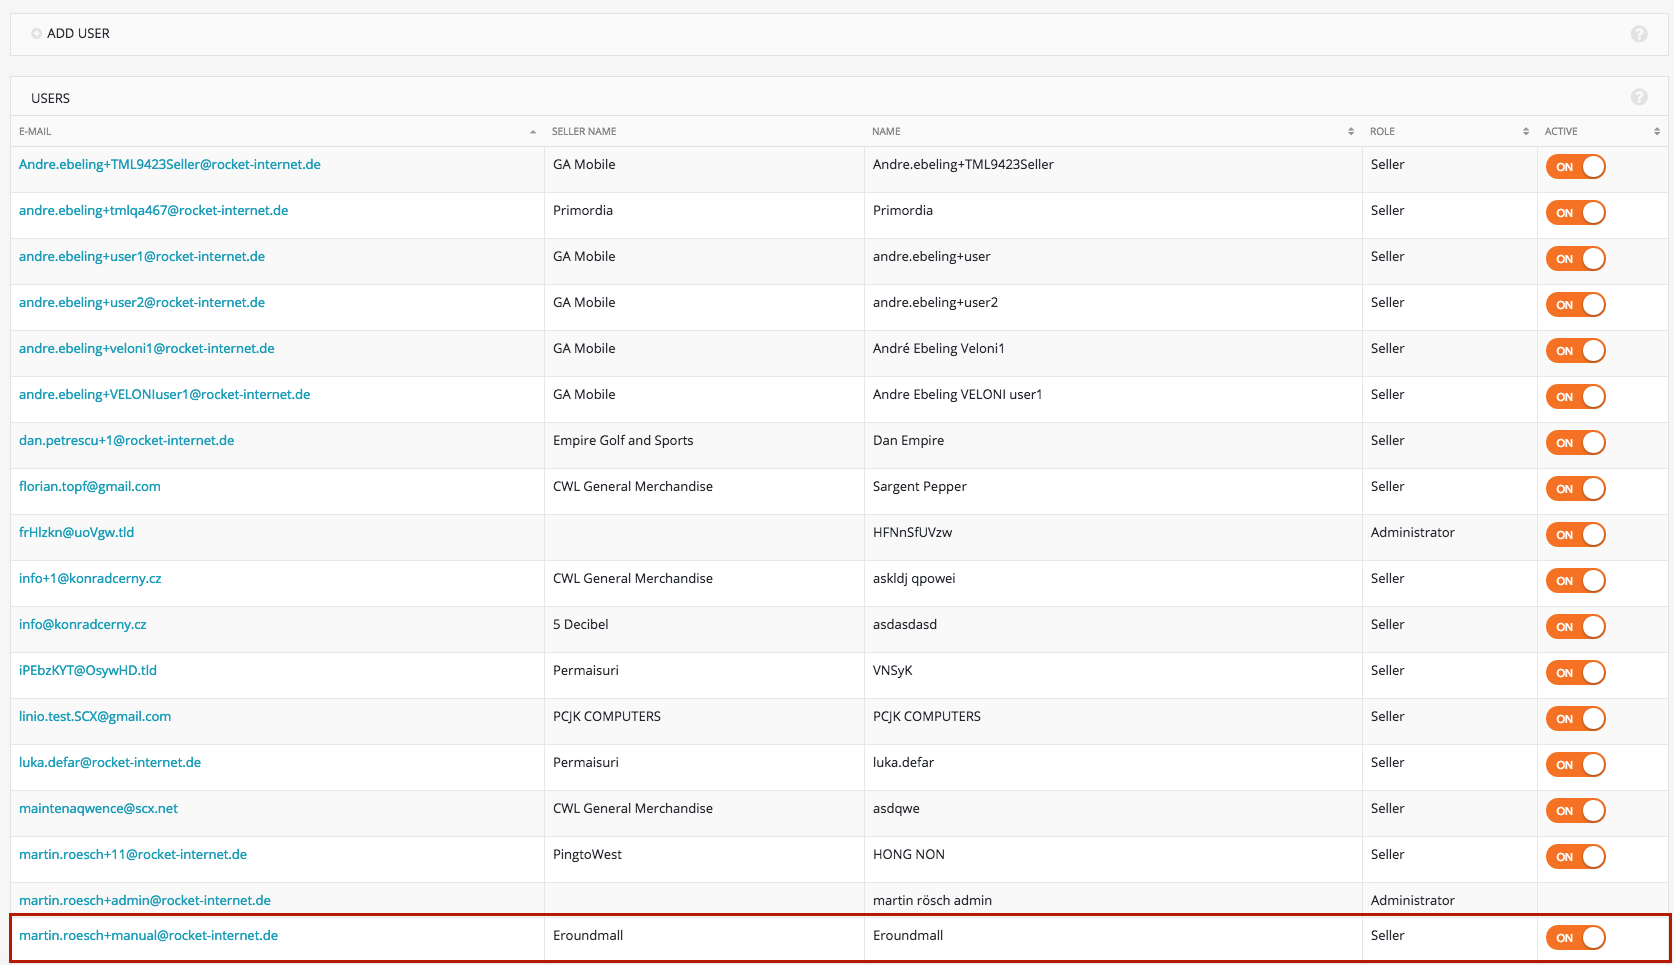
5 - “Add Seller” will add the Seller from all Local Seller Centers
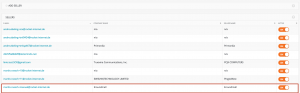
- If the Seller email address cannot be found, the Seller will be displayed as “N/A” in SCX.
6 - “Add Seller” additionally creates a user in Seller Center Express that is able to login.
7 - Note: Never delete this user. It is used by SCX to get the Seller profile data to SCX.

8 - User of the Seller has access but needs to request their password in the login screen.
9 - Resync.
Seller Center Express User in Seller Center- To separate the two systems from each other, we create a SCX user in Seller Center.
- The SCX user can only login via SCX, not in a local Seller Center on its own.
Activation and Deactivation of Seller
- Sellers that are inactivated are not able to login anymore. No user of that Seller has access anymore.
- Sellers can be only be inactivated by admins.
- Users will still appear as active in SCX but they will not be able to login because that Seller is inactive.


