Template Setup
Contents
Objective
- Allow different types of document templates to be created.
- Give Sellers invoice or shipping label templates that they can adapt them in their own Seller Center interfaces.
- Allow admin users to specify which templates can be edited by Sellers.
- Once a Seller user has edited and enabled a template, that personalized template is used (depending on what type of template it is [for invoices, shipping labels or package slips]).
- The shipping label can be adapted for a specific shipment provider.
- The invoices can be adapted for specific payment methods.
- Product Preview template can be created.
Types
Seller Center allows the creation of multiple documents related to order processing.
| Type | Explanation | Implication |
| Invoice | Invoice that is added to the package and sent to the customer. | Package needs to be created (with shipment provider) |
| Shipping Label | Label to put on the package so that it can be delivered to the customer. | Package needs to be created (with shipment provider). |
| Carrier Manifest | Document template can be printed for drop shipping orders, which contain a shipment provider and a tracking code. Paper that the shipment provider signs to indicate that they picked up the packages for the orders at the Seller’s place. It serves as proof that a shipment provider received ordered goods for delivery. | Package needs to be created (with shipment provider). |
| Picklist | Amount list of order items that should be picked in the Seller’s warehouse to pack the packages and proceed with order processing. | Package needs to be created (with shipment provider). |
| (Stock) Checklist | Similar to the picklist, except that no packages is created and the Seller can check if enough stock is in the warehouse before order processing starts. Then, they can decide which orders can be fulfilled. | No package is created. |
| Crossdocking Manifest | Shipping summary of multiple orders that are processed by the Seller and sent to the Shop warehouse (orders are processed as “Cross-docking”). Further information can be found here. | |
| Credit Note |
Similar as the invoice document except that it prints the data from returned order items, thus functioning as a reverse invoice.
|
|
| Serial Number | Document to assign a specific code to each product in order to identify them. Needed especially for reusing products after returns. |
Template Setup
| Step | Description | Image |
| 1 | An overview of all templates is available under Administration > Content Management > Document templates |
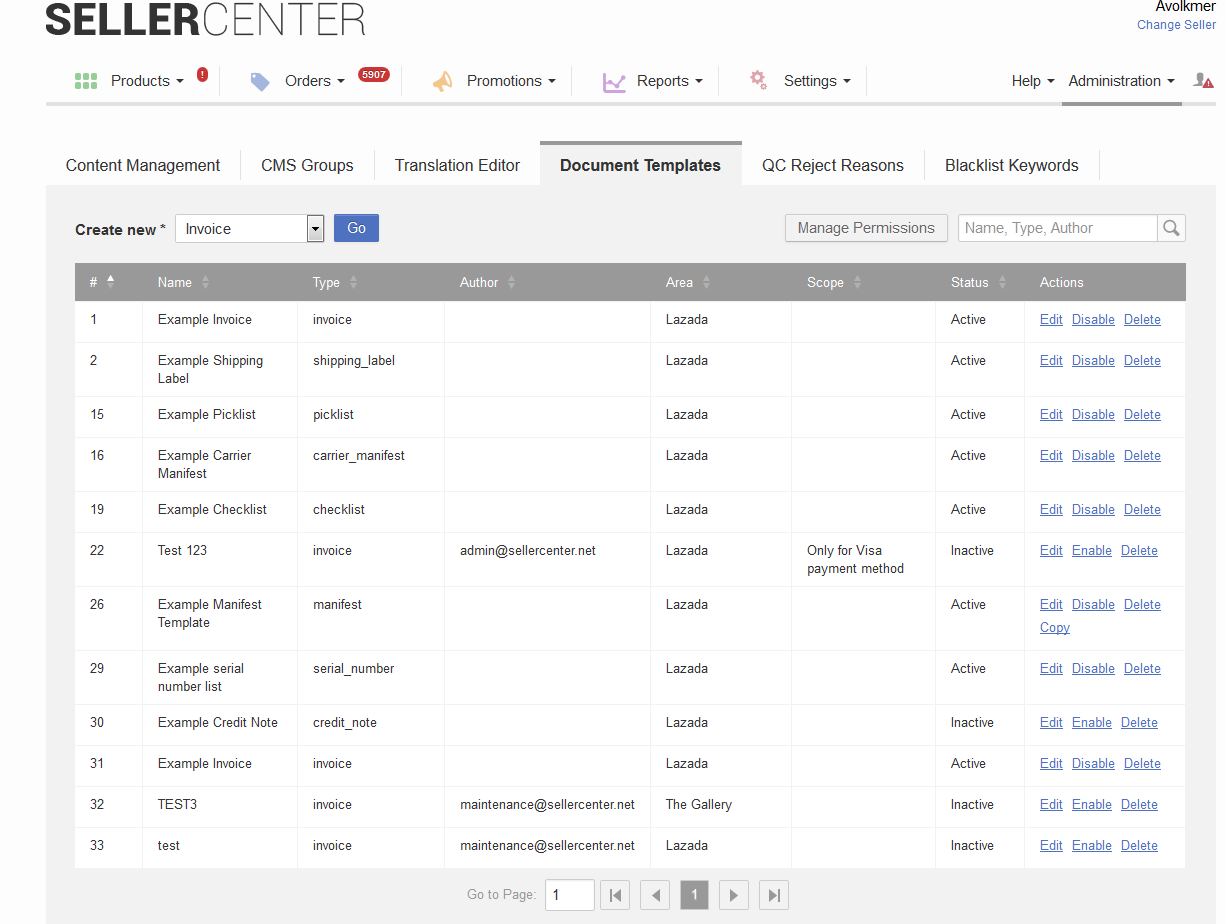
|
| 2 | Click “Edit” for a specific template or “Go” after selecting a new template. |
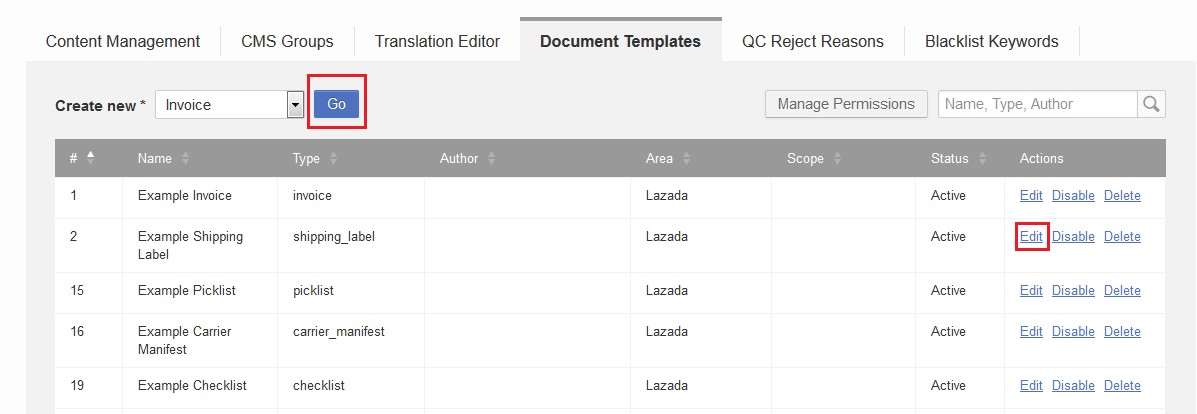
|
|
3 |
Disable editing by Sellers. |

|
|
4 |
Set up document templates with a limited scope.
Shipment provider and payment methods need to be properly set up.
|
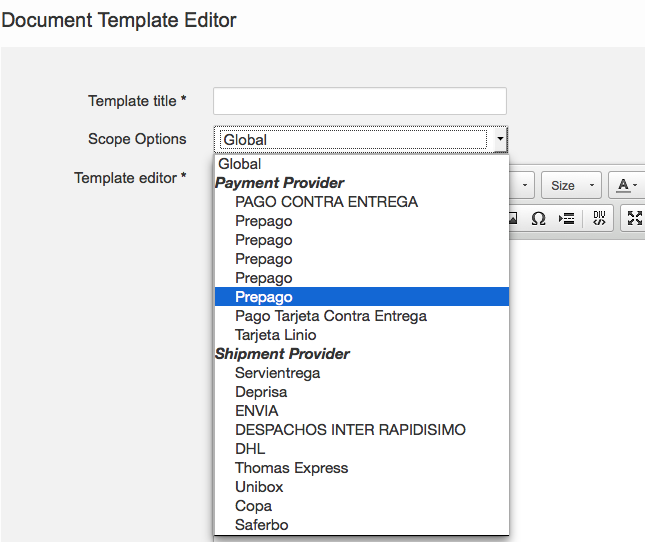
|
|
5 |
Overview of document templates (found in settings) so the Seller can use and edit them to suit their purposes. |
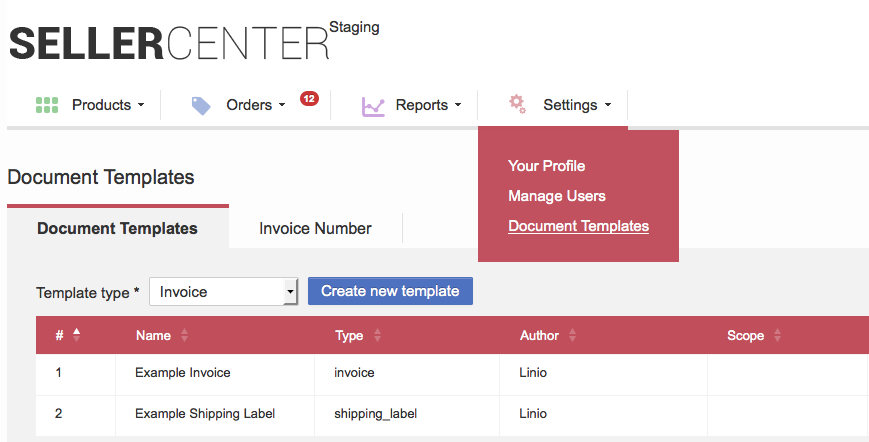
|
Scopes
The following table explains the usage of the different scopes. “Global” scope applies to all three types.
|
Scope |
Usage |
| Global |
Default usage when no other template is configured |
| Payment Method |
The selected option is used when printing invoices/package slips for orders that were paid with the selected payment method. This means that if each payment method needs to have a customized document template for their invoice and/or package slip, each template needs to be created individually.
Example: Template is only used for orders that have “Cash on Delivery” set as the payment method. This template is used for all Sellers. |
|
Shipment Provider |
The selected option is used when printing shipping labels for orders that are shipped with the selected shipment provider. This means that if each shipment provider needs to have a customized document template for their invoice and/or package slip, each template needs to be created individually.
Example: Template is only used for orders that are shipped with the shipment provider “Aramex.” This template is used for all Sellers. |
Currently available groups are:
|

|
| In order to use a placeholder, please click on the group name (e.g., “Customer data”) |

|
| Select the corresponding placeholder that should be added to the template by clicking on the placeholder name. |

|
| # | Description | Image | |
| 1 | The order item table is added where the cursor is located within the template editor. | ||
| 2 | Expand the group “Order item table” | ||
| 3 | Click on the placeholder you want to use as the first column. |

|
|
| 4 | A table with this first column is added to the document template. |

|
|
| 5 |
|

|
|
| 6 |
Optional: There is the possibility to have parts of the order item table listed not as a table, but as a comma-separated list. In order to achieve this, some adaptions within the HTML code of the template need to be done:
|
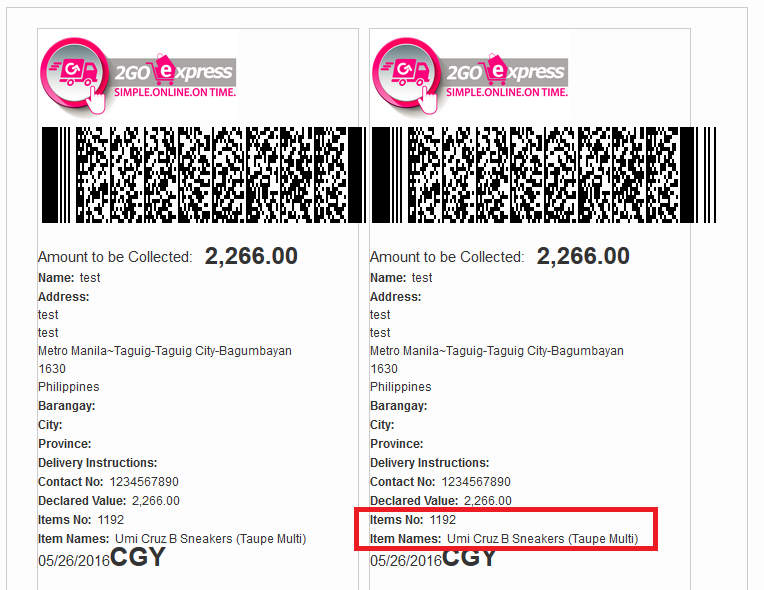
Result
|
Frequently Asked Questions
This can often be a result of editing a template containing an order item table. To check if the formatting of the table is correct:
- Go to Content Managemant > Document templates and edit the desired template
-
Click on the edit HTML button:

-
Check that the following tag is used before the start of the
tag defining the table row that will contain the order item information (not the headers of the table): ):{{#order_item_table}}- And that the following tag is used at the end of the row (
{{/order_item_table}}
For Example:
<div class="container datagrid">{{#order_item_table}}
<table border="2" class="order_item_table">
    <thead>
        <tr>
           <td class="item_sku"><strong>SKU</strong></td>
           <td class="item_price"><strong>Price</strong></td>
        </tr>
    </thead>
    <tbody>
    {{#order_item_table}}
        <tr>
           <td class="item_sku">{{item_sku}}</td>
           <td class="item_price">{{item_price}}</td>
        </tr>
    {{/order_item_table}}
    </tbody>
</table>
</div>